I’m sure none of you could sleep well last night, awaiting today’s big reveal of Kaz’s five-course, Shojin feast. I think I’m personally working on about four hours of sleep. So let’s jump right in and get to the good stuff. I just can’t wait any longer.
Last Friday, I invited three friends over to share in my low sodium, Japanese cooking project and our evening with Kaz couldn’t have been more special. He is one of the warmest people I have ever met and Kaz immediately made himself at home. He regaled us with stories from Japan, LA, and zen temples and demonstrated genuine excitement in being able to share his knowledge of healthy food with three strange strangers. Did I mention he’s for hire?
When Kaz arrived, he immediately began unpacking his bag of goodies. Like a Japanese Mary Poppins, he pulled out tons of foreign ingredients from his small black pouch and began to display them, very methodically, on my kitchen table. It was important to Kaz that we had a firm understanding of each ingredient we would be using – especially the ones that were new to our American eyes. Any chef, even an Iron Chef, needs to know what his culinary tools taste and feel like (check out minute 7 on the video). That way, you can more confidently guess what food pairings and cooking methods will serve each spice, vegetable, and slice of meat best. So before we even turned the rice cooker on, Kaz spent the first 15 minutes of the lesson talking about each item we were going to use and had us try each of the unprepared products, whetting our appetite and getting our cooking buzz going.
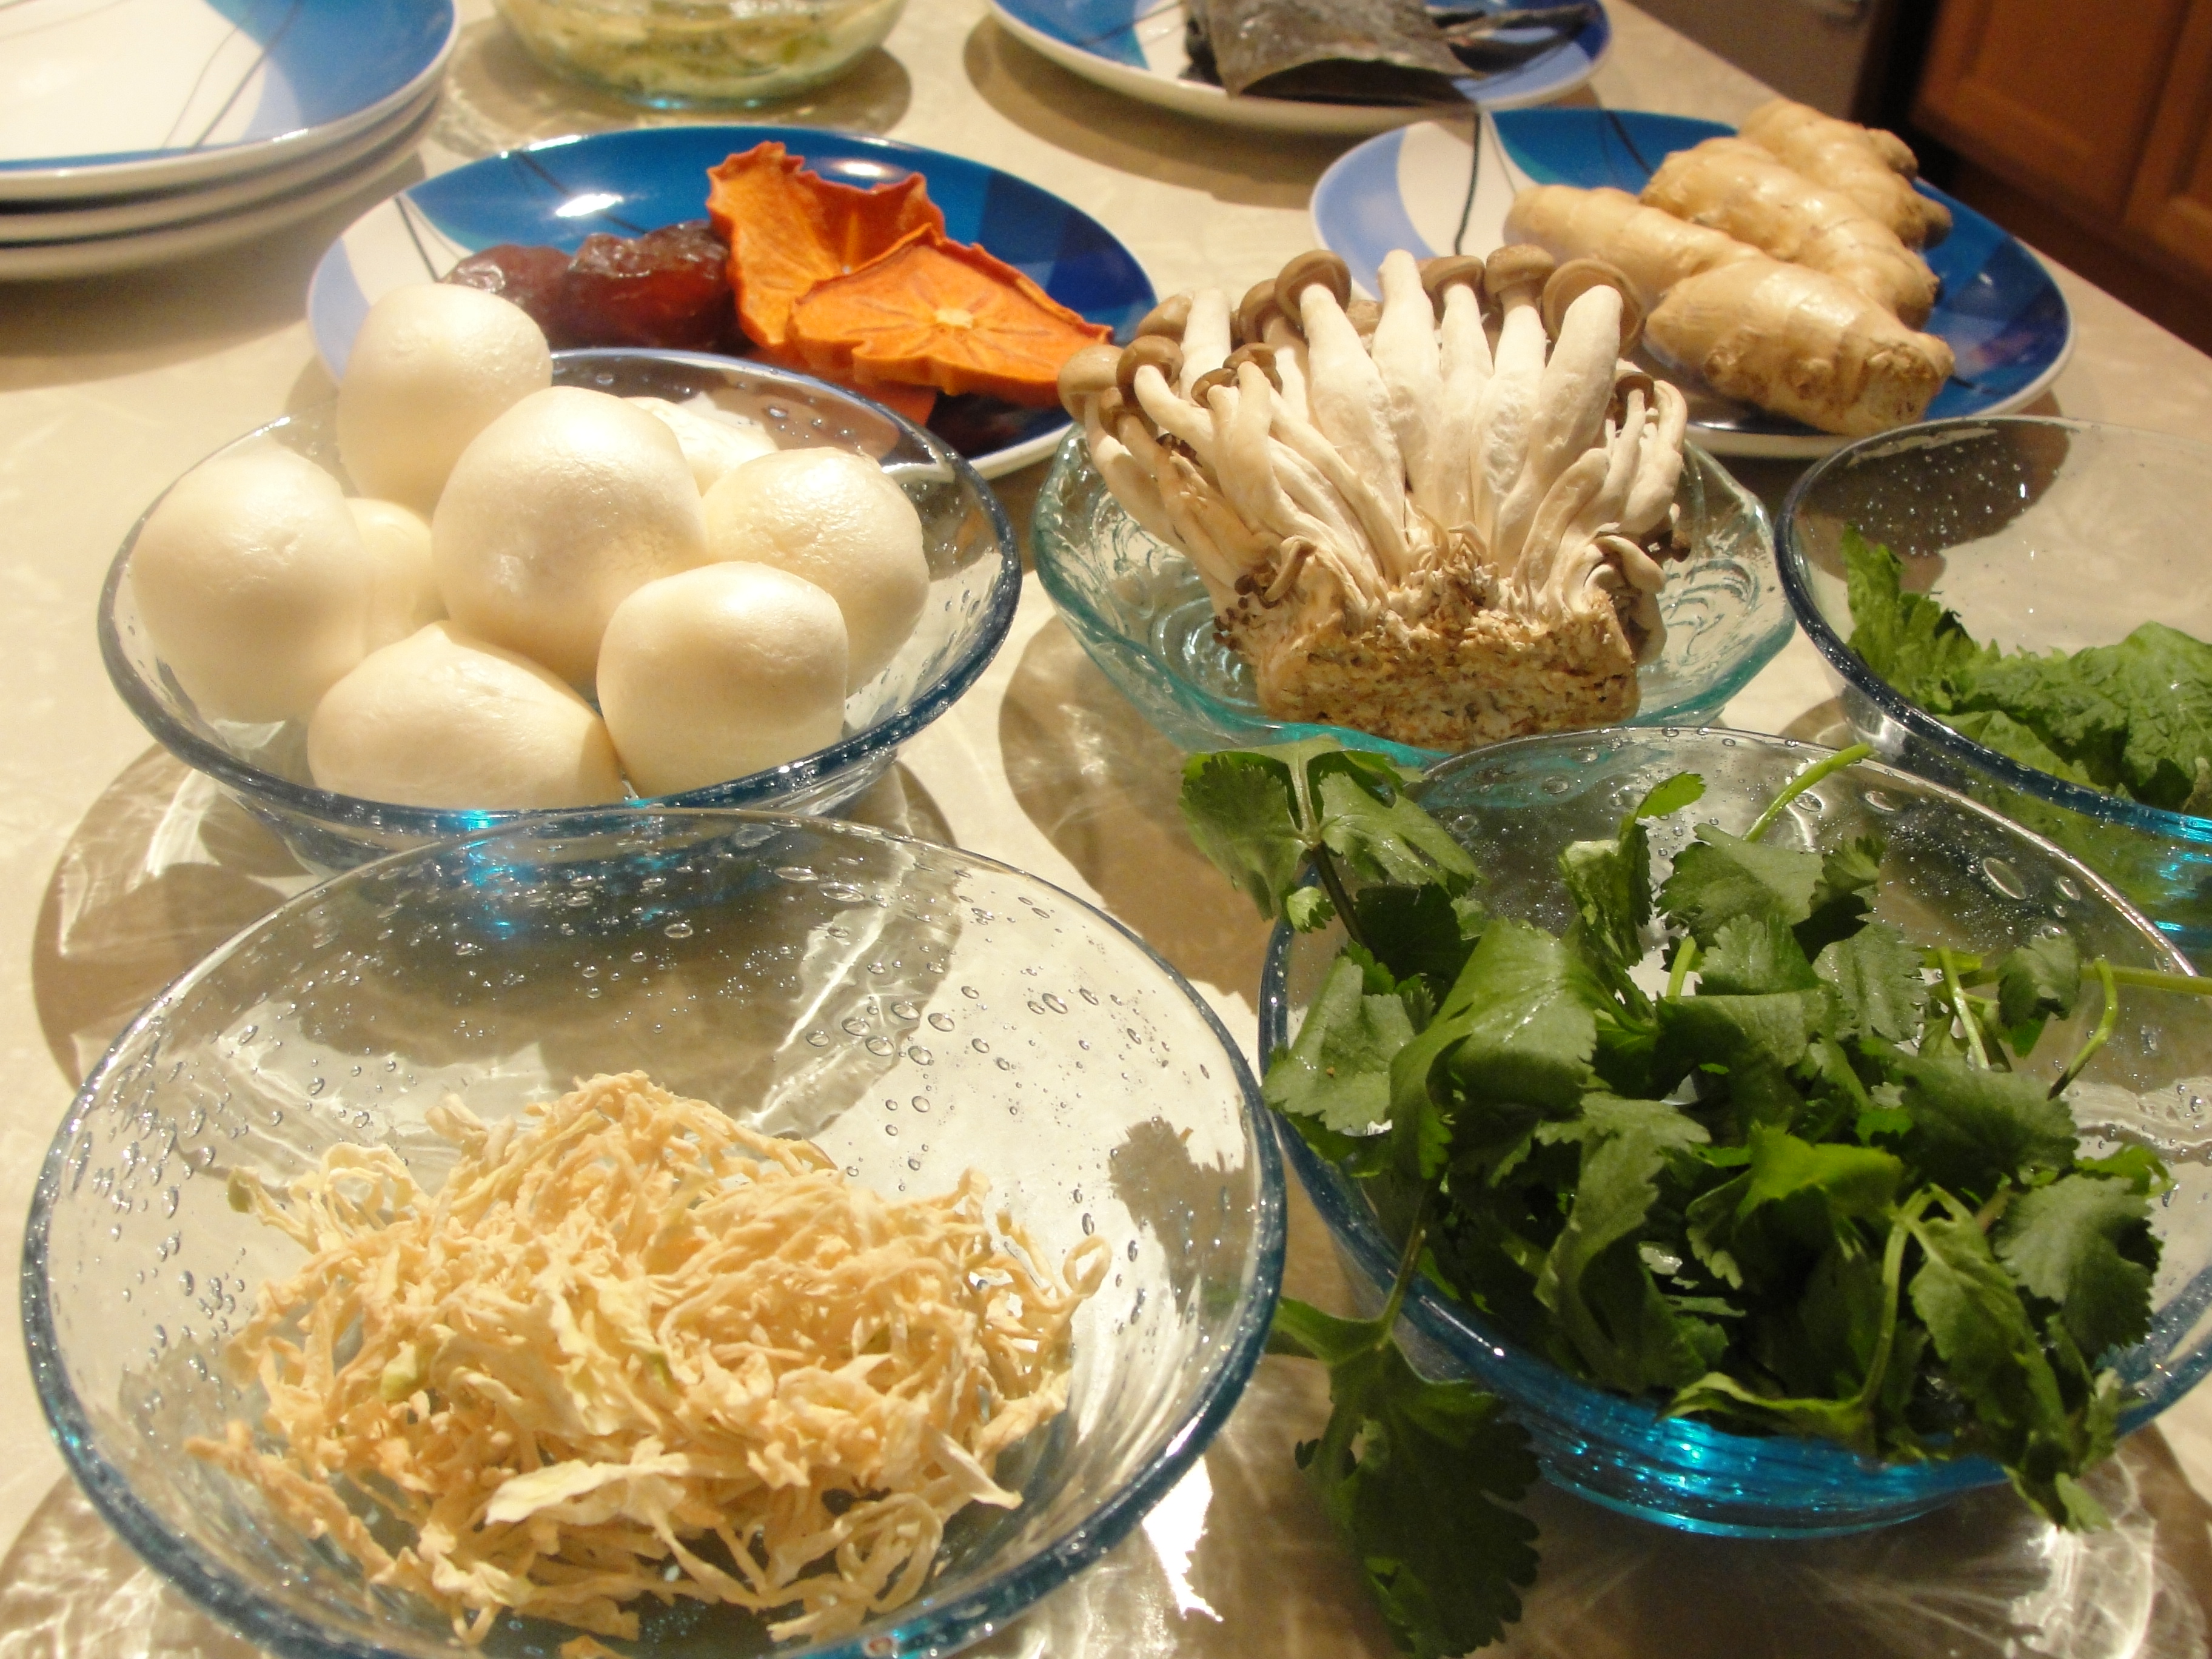
From left to right, front to back: dried daikon, fresh spinach, gluten balls, shimeji mushroom, shiso leaf, dried persimmon and dried date, ginger root, dried konbu
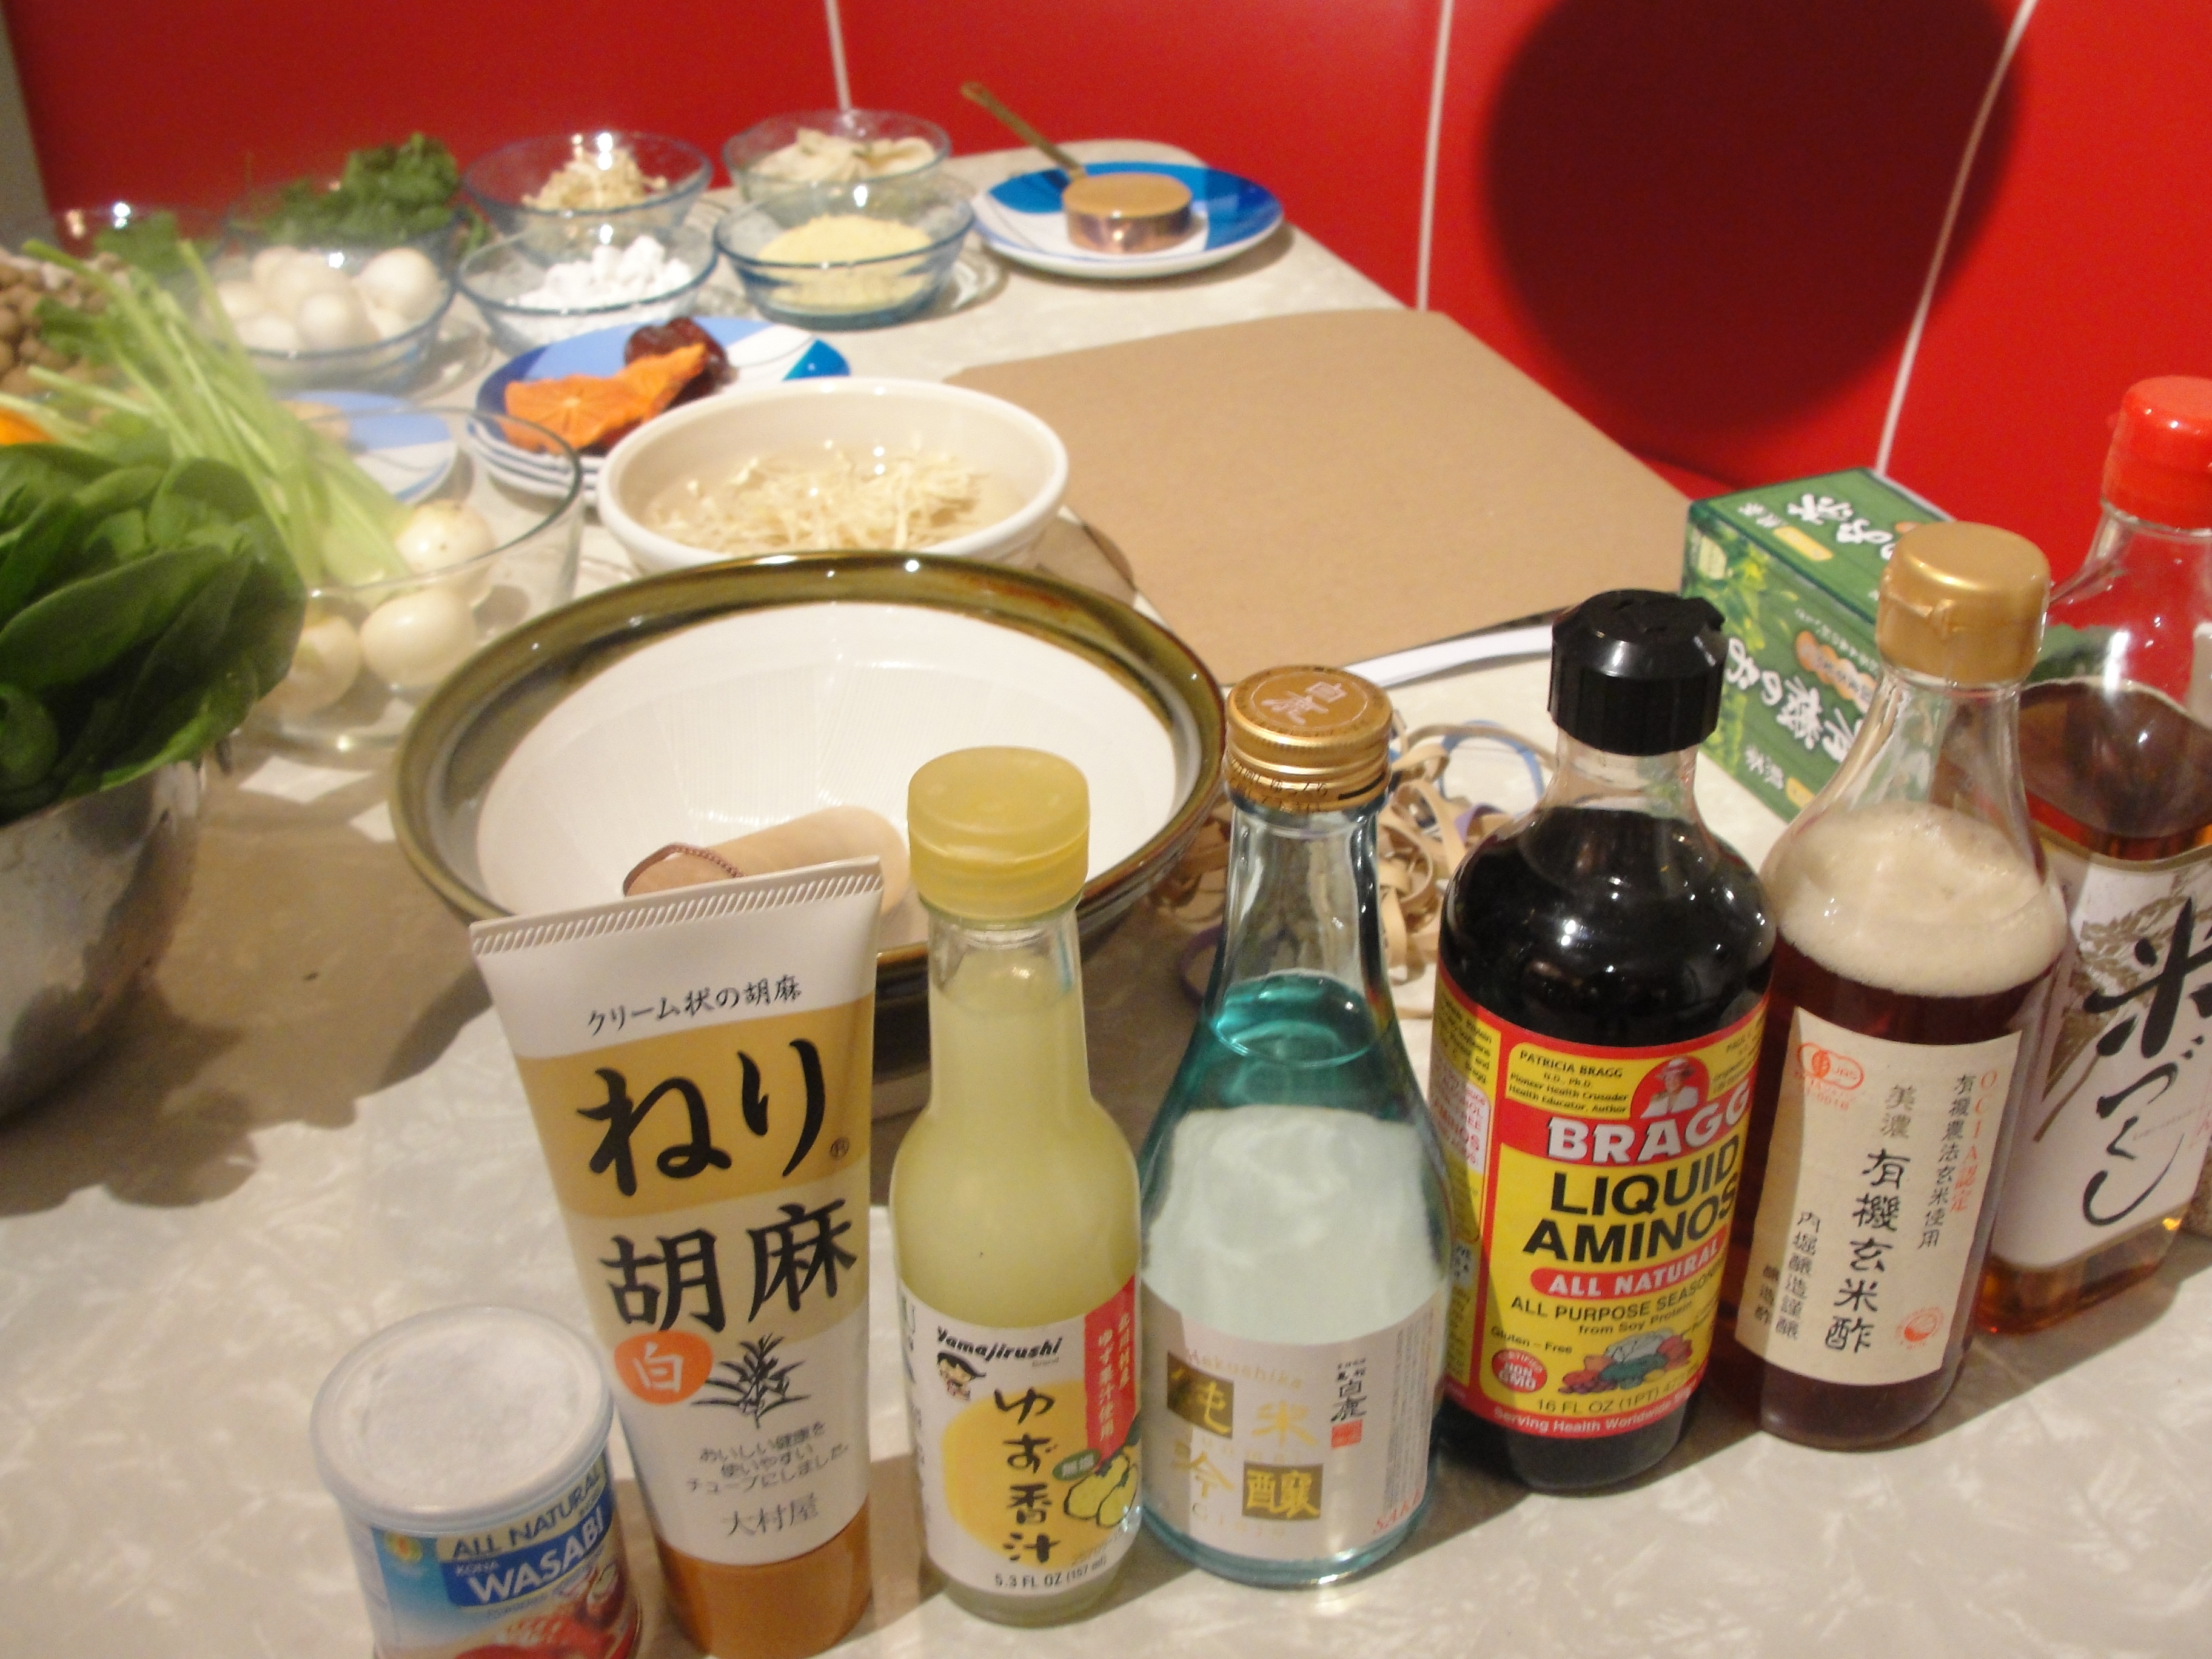
From left to right: wasabi powder, sesame paste, yuzu, sake, liquid amino acid, brown rice vinegar, and mirin.
Every one of these products were sodium free, except for the Bragg’s Amino Acid which has 160 mg of sodium for half of a teaspoon but can serve as a soy sauce substitute depending on your dietary restraints. Each product can be found at any asian market, like Nijiya in Japan Town and Ranch 99 in Daily city. These are easily two of my favorite stores in existence and you will have a blast treasure hunting the aisles for products like these.
But before we go any further, let’s honor Kaz’s cooking philosophy and pause for a quick Japanese cooking vocabulary lesson.
Dashi is any broth used as a base in all of Japanese cooking. Konbu, bonito flakes, and shitake mushrooms are often used for flavor.
Konbu looks like dried seaweed and is one of the main ingredients in making dashi. It is also often sold pickled and in pre-shedded packets.
Bonito flakes are dried fish skin. Sounds scary, but it is an incredibly flavorful addition for broths or on top of rice and steamed veggies. You can easily find no sodium versions of this in the markets mentioned above. I have three gigantic bags in my cupboard.
Mirin is a sweet cooking wine and is delicious on pretty much everything.
Yuzu is a small lemon/lime-like citrus. It is often used to make ponzu or other sauces and a lot of American chefs are substituting this stronger, more acidic flavor for more traditional citrus products.
Kuzu Ko is a powder made from the root of the Kuzu plant. Although it is often called arrowroot powder, it is different than the ones sold in Whole Foods market. This product must be purchased at an asian market.
Now, back to the food. For the rest of the post, I will be translating directly from the Sodium Girl Shojin Menu that Kaz so kindly created. It is part food encyclopedia, part recipe, and part picture fun. As you’ll see, most of the recipes are very simple. The power of their flavor lies in long-soaks and ingredients like ginger, sesame, and shiso which leach out deeper natural sweet and sour tastes. We also asked Kaz, if he hadn’t been restricted by my diet, what other products he would have brought. He said that only two items were missing from our evening’s pantry – soy sauce and salt – and that none of these recipes rely on them for their desired outcome. With that thought in mind, enjoy the following tale of Kaz and low sodium Japanese cooking and start thinking about which one of these Japanese tapas you will try back at home.
PREP WORK: 3 KINDS OF DASHI
Ingredients:
- Konbu (0 mg of sodium)
- Dried shitake mushroom (0 mg of sodium)
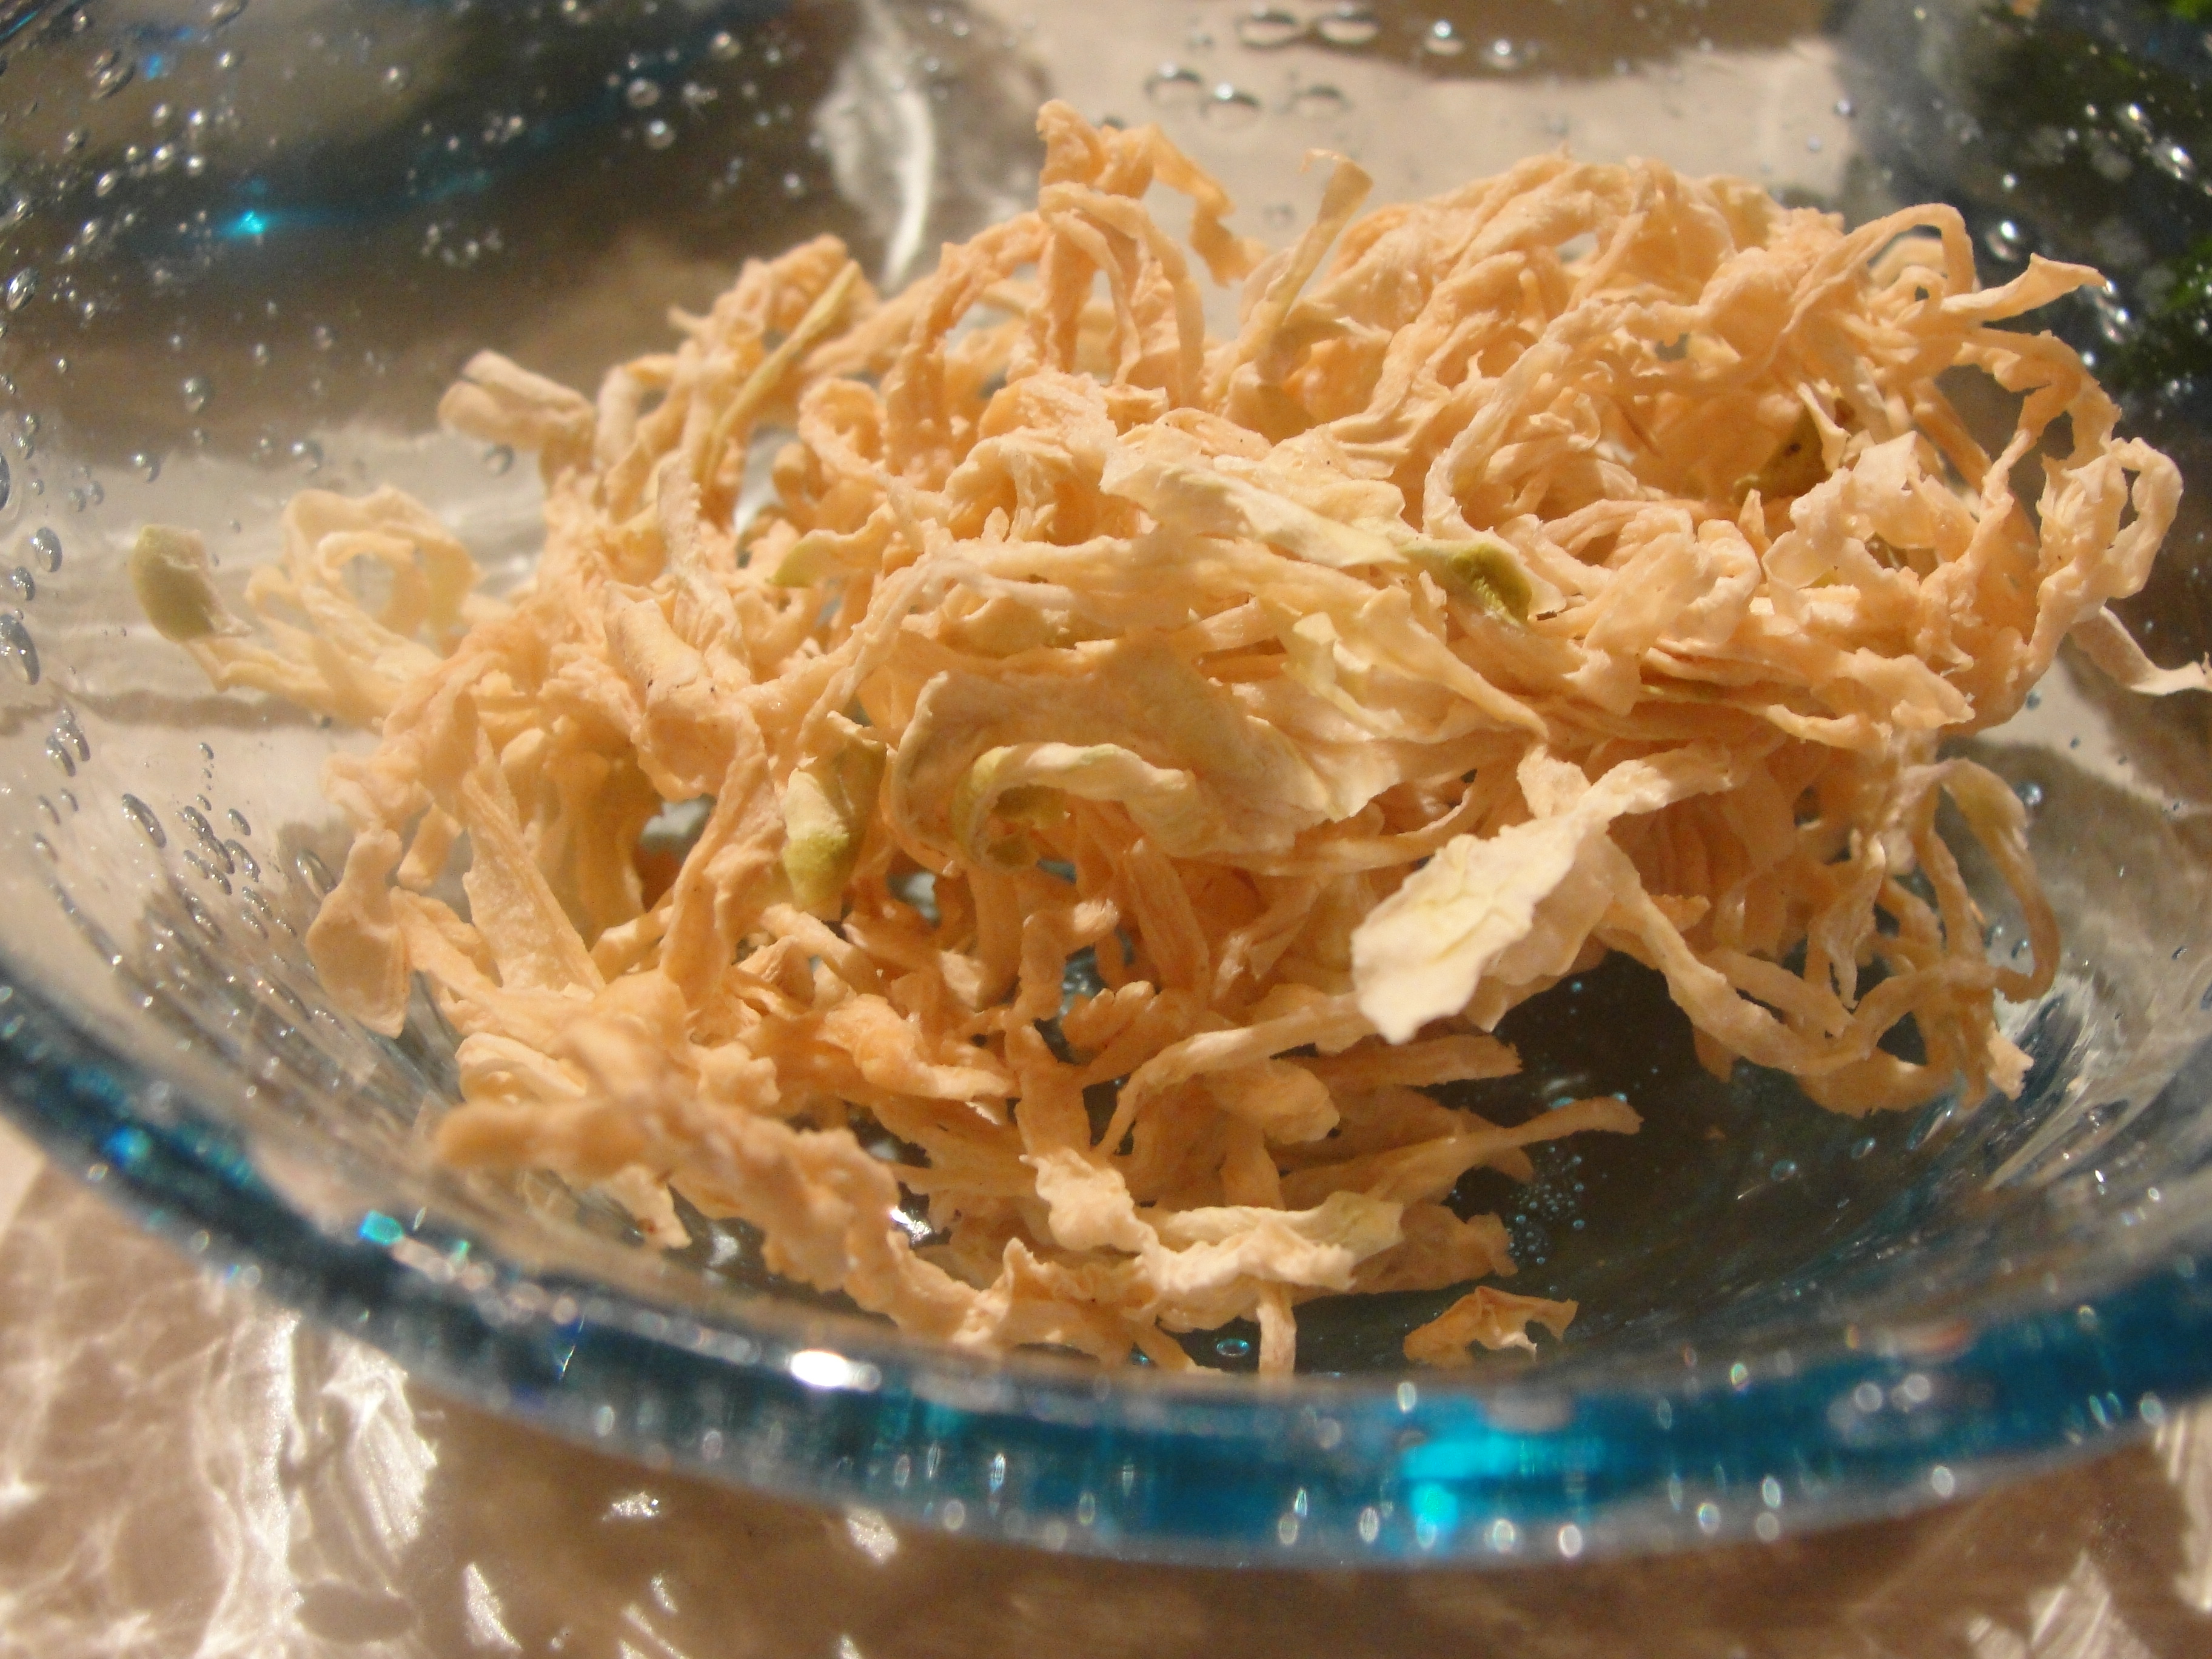
- Dried daikon (0 mg of sodium)
- Water
Directions:
1. In three separate bowls of water, soak konbu in one, dried shitake in another, and the dried daikon in the third overnight. Use a cup of water for each person, per bowl. Since there were five of us, we used five cups of water in each bowl. If you are not sure how much to make, it is safer to err on the side of more water rather than less as you will be using it to flavor most of the dishes.
2. In three separate pots, heat the three flavored waters (konbu, shitake, and daikon) and bring to a boil over medium heat.
3. While prepping the rest of your food, lower heat and keep the three types of dashi warm and simmering.
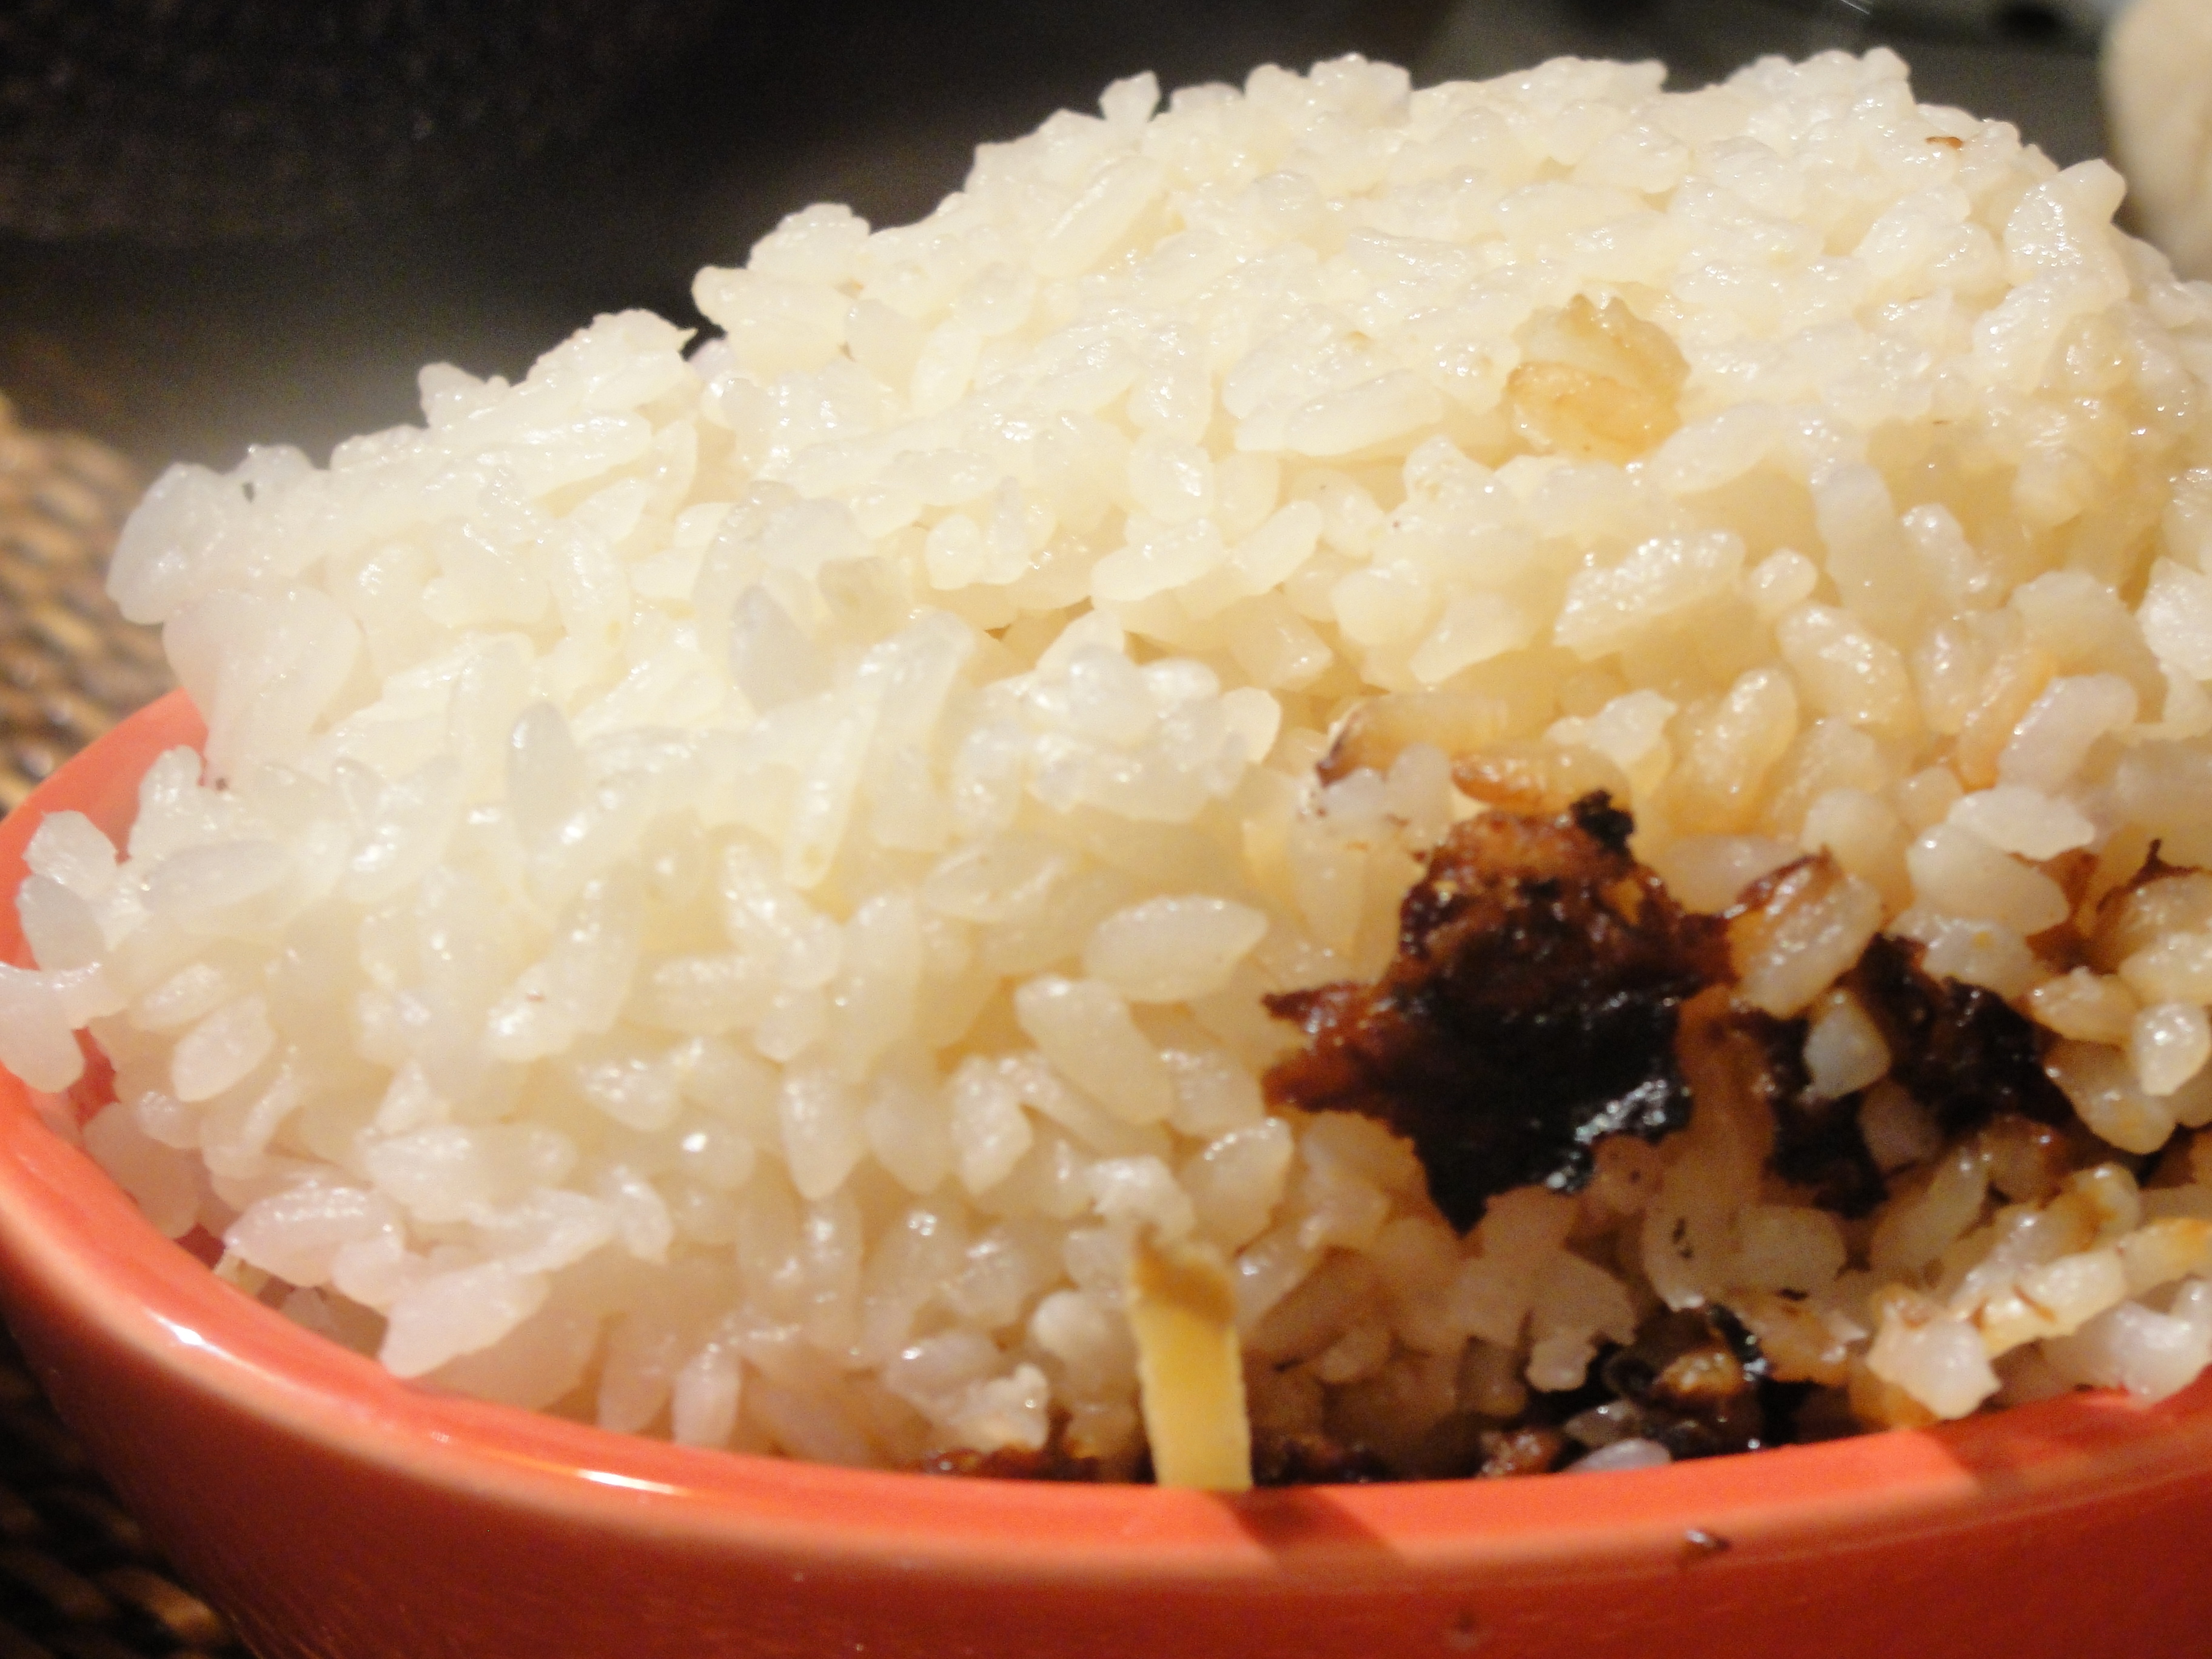
DISH ONE: GINGER RICE
Ginger has many positive health benefits. It reduces pain and inflammation, helps with migraines and can prevent kidney damage, and it keeps your body warm during winter and cool in the summer. So ginger rice is often cooked in the winter to represent the hope of a warm spring to come.
Ingredients:
- Short grain rice (0 mg of sodium)
- Ginger root (0 mg of sodium)
- Shitake dashi (0 mg of sodium)
- Dried daikon (0 mg of sodium)
- Mirin (check back of package – 0 mg of sodium)
Directions:
1. Wash rice in water. I never do this, as I often cook rice when I want something quick to eat. But if you want to stick to tradition, check out this video of how to properly rinse your grains.
2. Add a combination of shitake dashi, daikon dashi, and water to the rice in your rice cooker. The correct ratio for rice to liquid is 1:1 and about a 1/2 cup of rice per person.
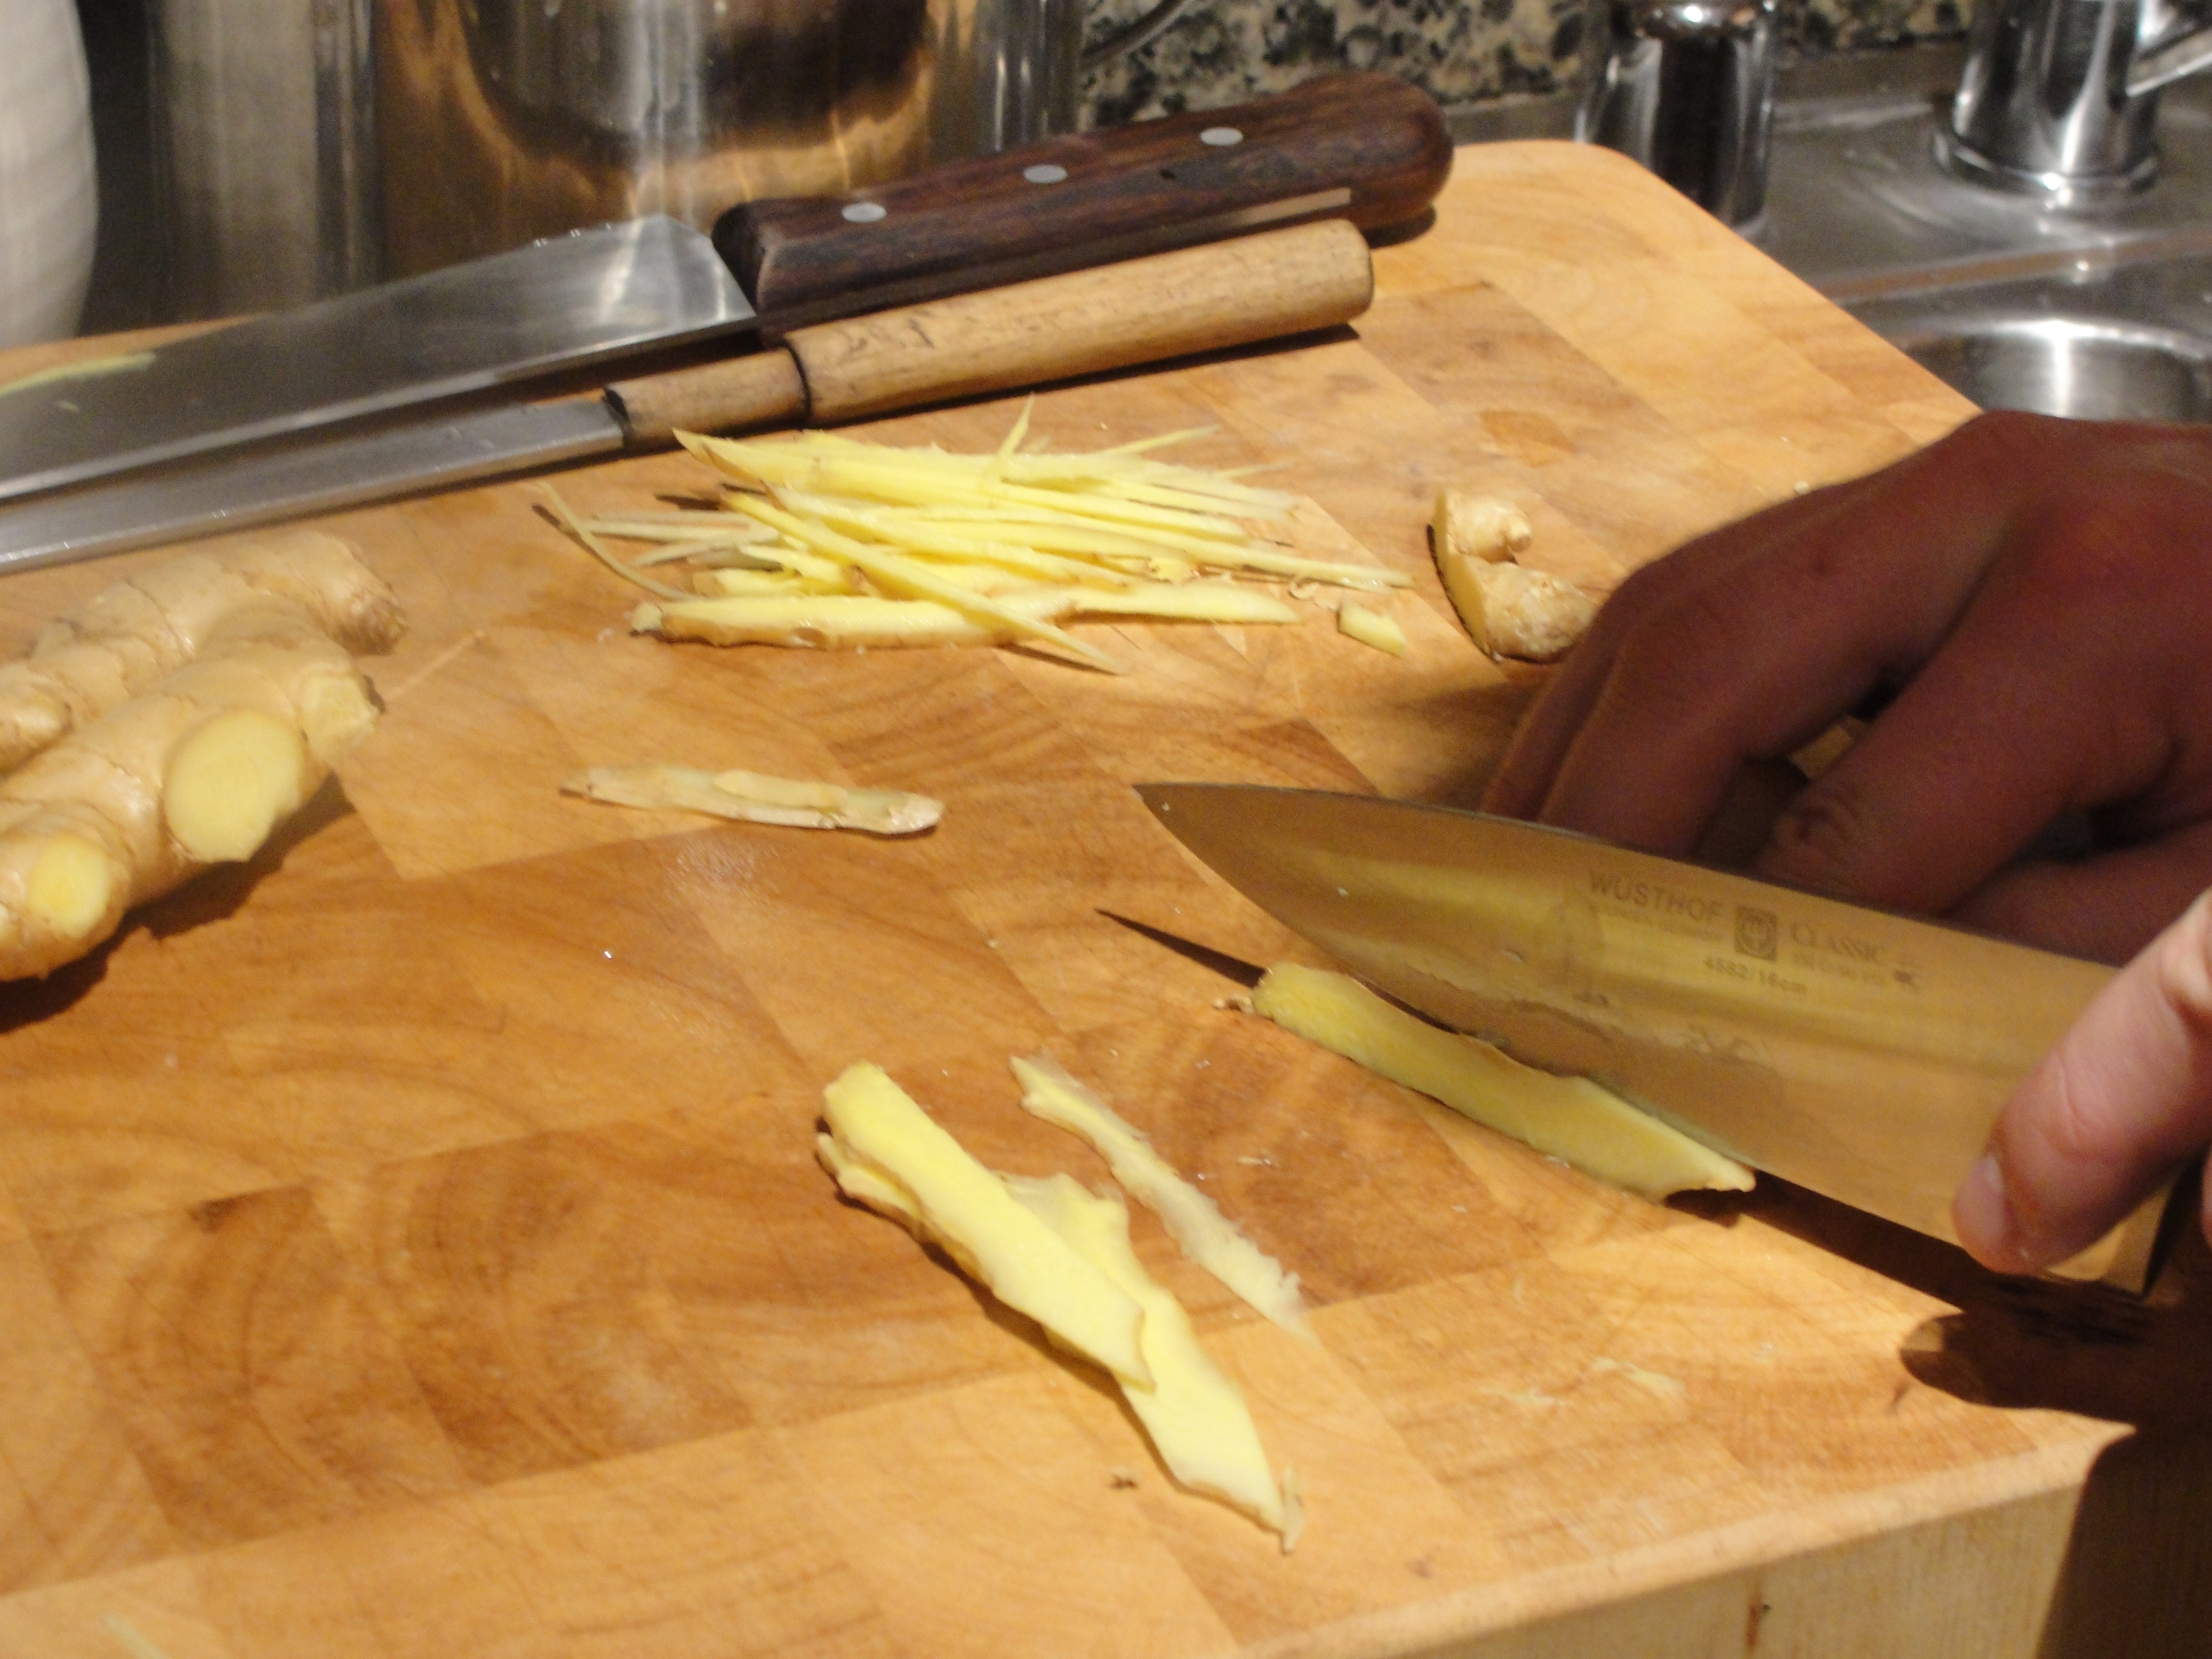
3. Wash ginger and then cut into matchstick strips – no need to peel the ginger. Add the strips to your rice cooker.
4. Add about one to two teaspoons of mirin to taste.
5. Let the rice, ginger, and mirin sit for 15 to 30 minutes before cooking.
6. Turn your rice cooker on and let it go. Easy peasy.
DISH TWO: KABU (White Radish) SWEET PICKLES
Simple yet satisfying, pickles take only five minutes to prepare. Let them sit overnight to bring out the most flavors in these small, Japanese radishes.
Ingredients:
- 5 white radishes or substitute with turnip (0 mg of sodium)
- 1/2 cup of rice vinegar (0 mg of sodium)
- 2 tablespoons of yuzu or citrus juice (check back of package – 0 mg of sodium)
- 1/2 cup of konbu dashi (0 mg of sodium)
- 1/4 cup of white sugar (0 mg of sodium)
- 2 shiso leaves, thinly sliced (0 mg of sodium)
- Konbu (check back of package – 0 mg of sodium)
Directions:
1. Mix vinegar, sugar, dashi, and yuzu to make the vinaigrette.
2. Shred a small amount of the konbu and add that and the shiso leaves to the vinaigrette.
3. Thinly slice the radish into rounds. We used a mandolin on the lowest setting to create very delicate disks.
4. Add the radish to the vinaigrette and let sit overnight.
DISH THREE: SESAME TOFU
Sesame tofu is a signature dish of Shojin Ryori. In old days, a suribachi (or textured mortal and pestal) and sesame seeds were used to make sesame paste, which was a very time consuming task. Even today, some Zen monks still make the sesame paste at their temples using a suribachi. We took an easier road and used sodium free, prepared sesame paste. Feel free to use almond or peanut butter as a substitute if you are not allergic to nuts.
Ingredients:
- Sesame paste
- Kuzo ko or “arrow root” powder
- Konbu dashi or water
- Two or three people on hand for assembly line with strips of saran wrap and small rubber bands – great for team building.
- A bowl of ice cold water.
Directions:
1. In a deep pot, mix the sesame paste, kuzu, and water. The ratio is 1:1:6 and to make enough for five people, it is safe to go with 1 cup of sesame paste, 1 cup of kuzu, and 1 cup of water.
2. Stir the mixture constantly, in one direction, over low heat until the mixture starts to thicken. This is quite an arm workout, so be prepared to build your biceps or tap out and take turns with a buddy.
3. Once it is thickened, stir even faster for 15 to 30 minutes. Feel the burn!
4. Turn up heat for last 2 minutes of stirring. Should be clear and very difficult to stir.
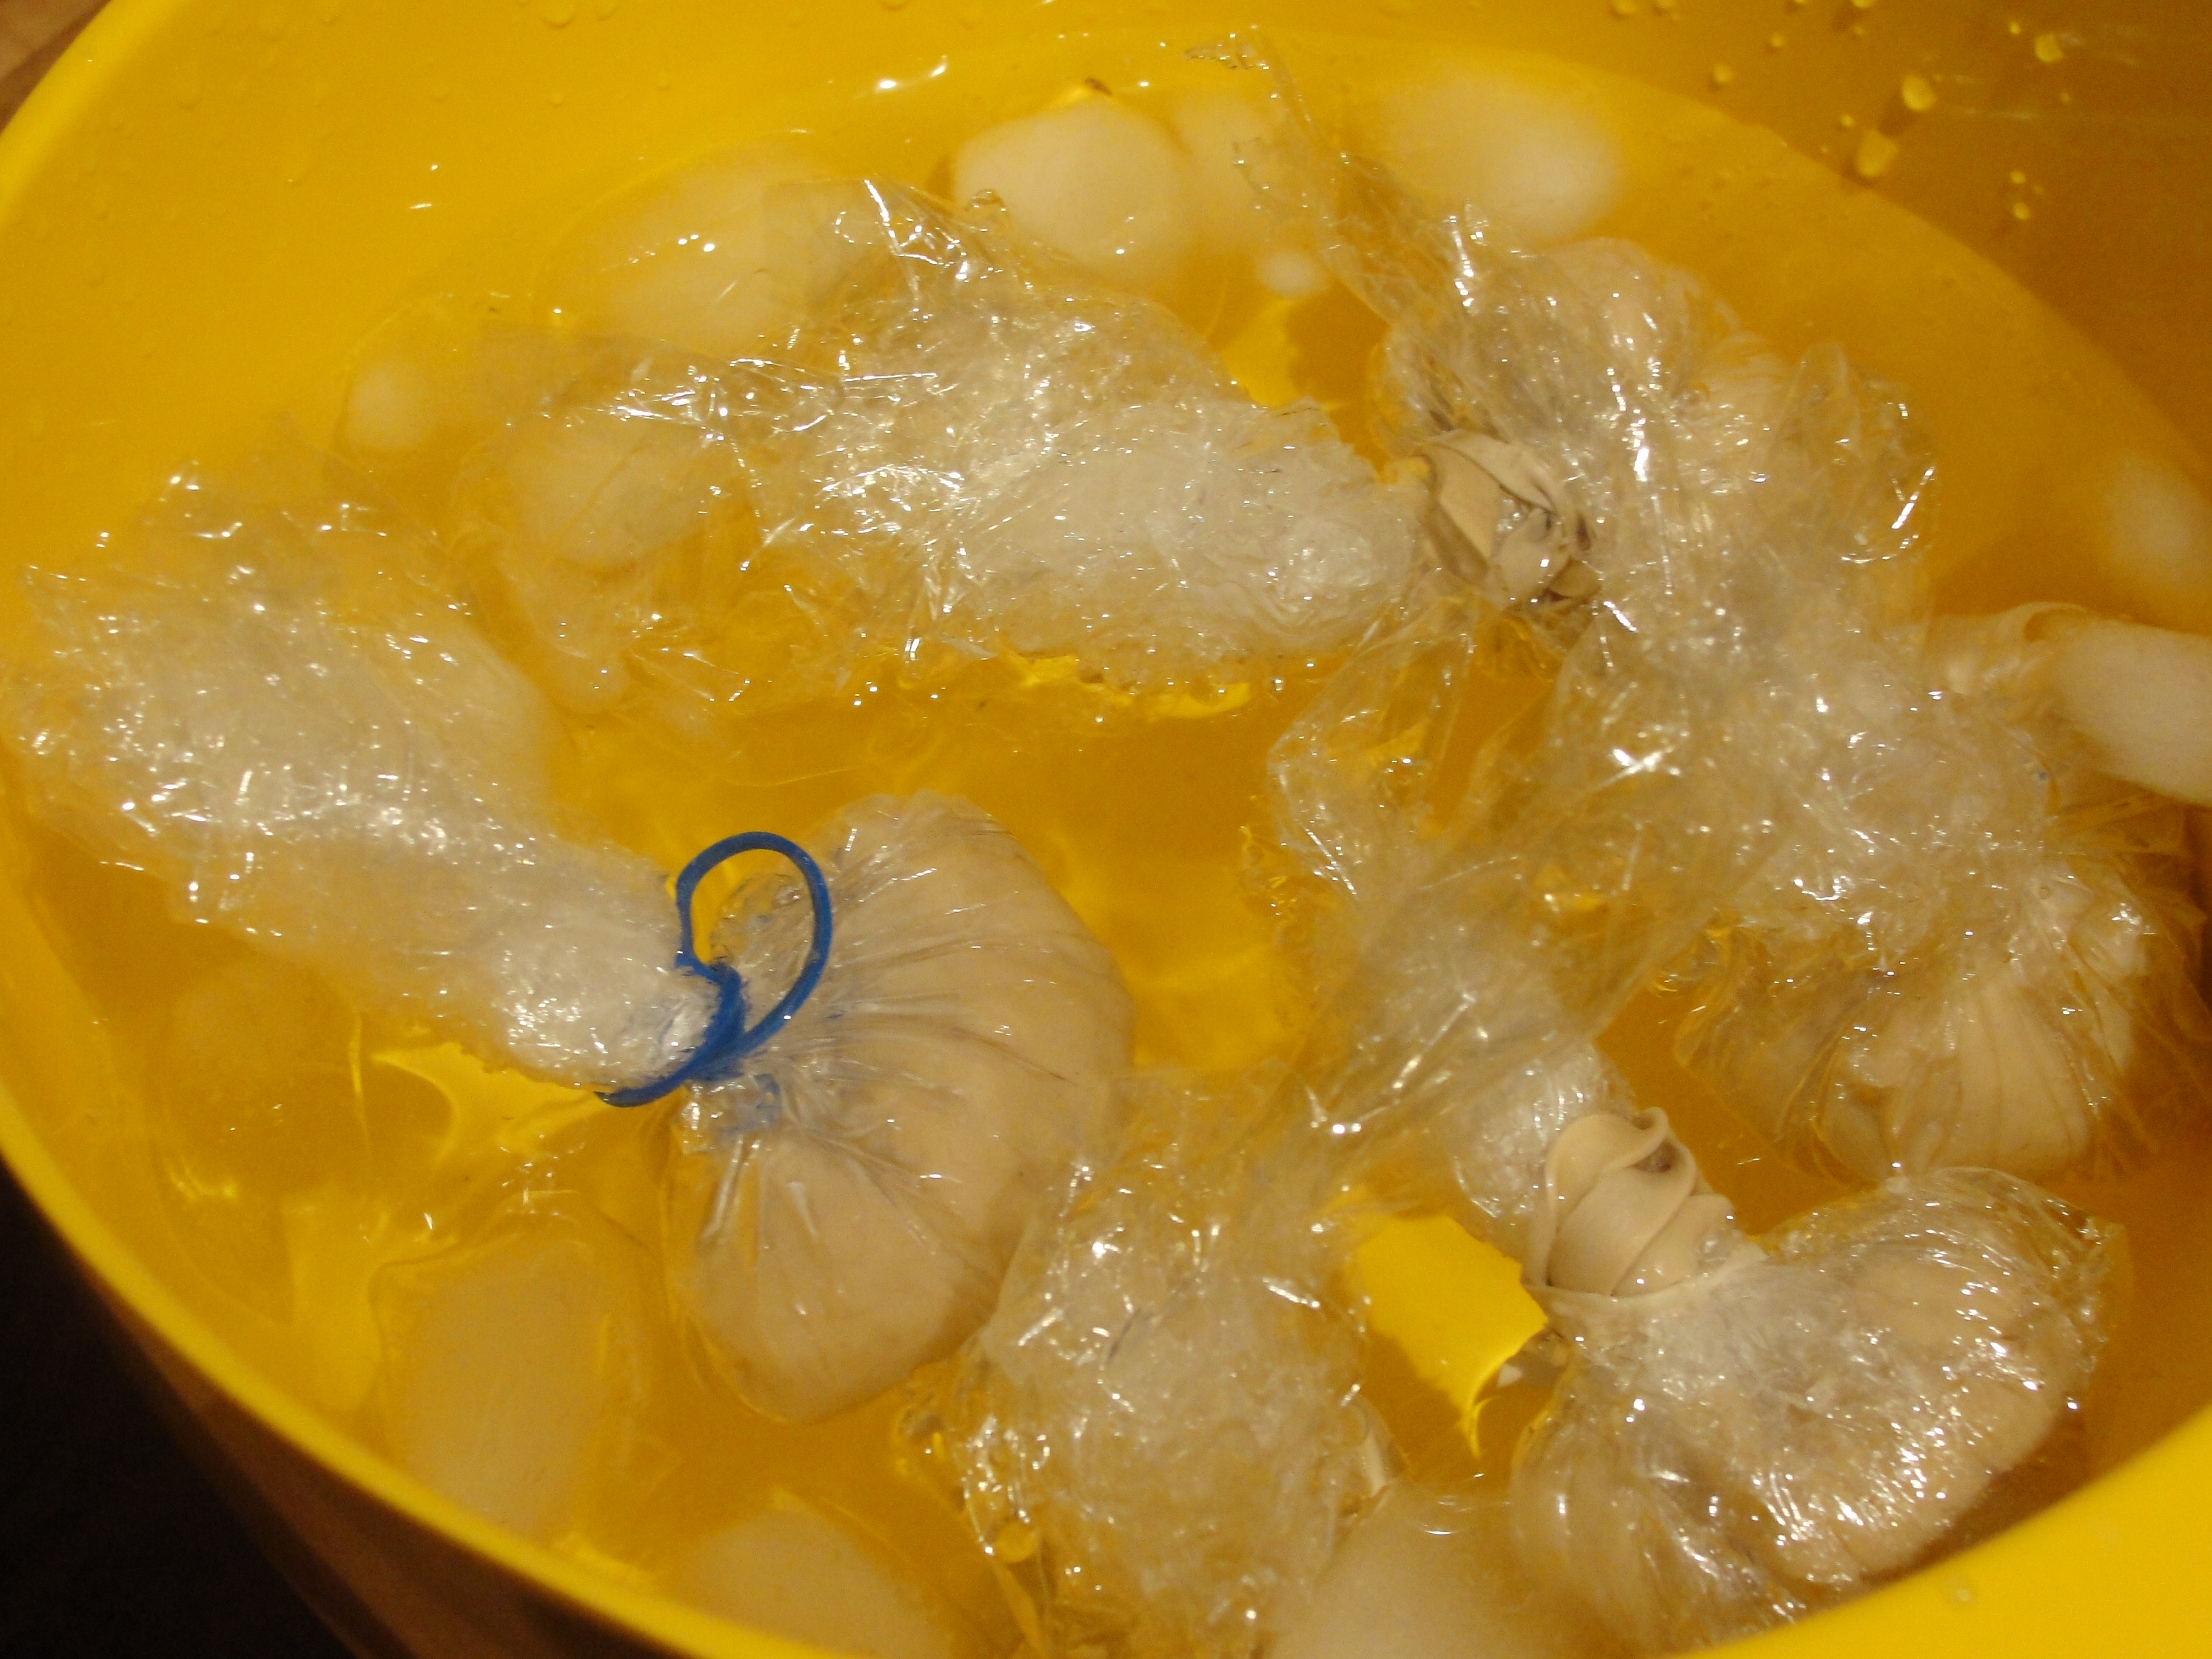
5. Drop spoonful-sized balls into saran wrap and quickly twist and tie with a rubber band. Drop the sesame paste balls into the ice cold water bath.
6. Take a taste of your creation while you wait for it to get tofu-d.
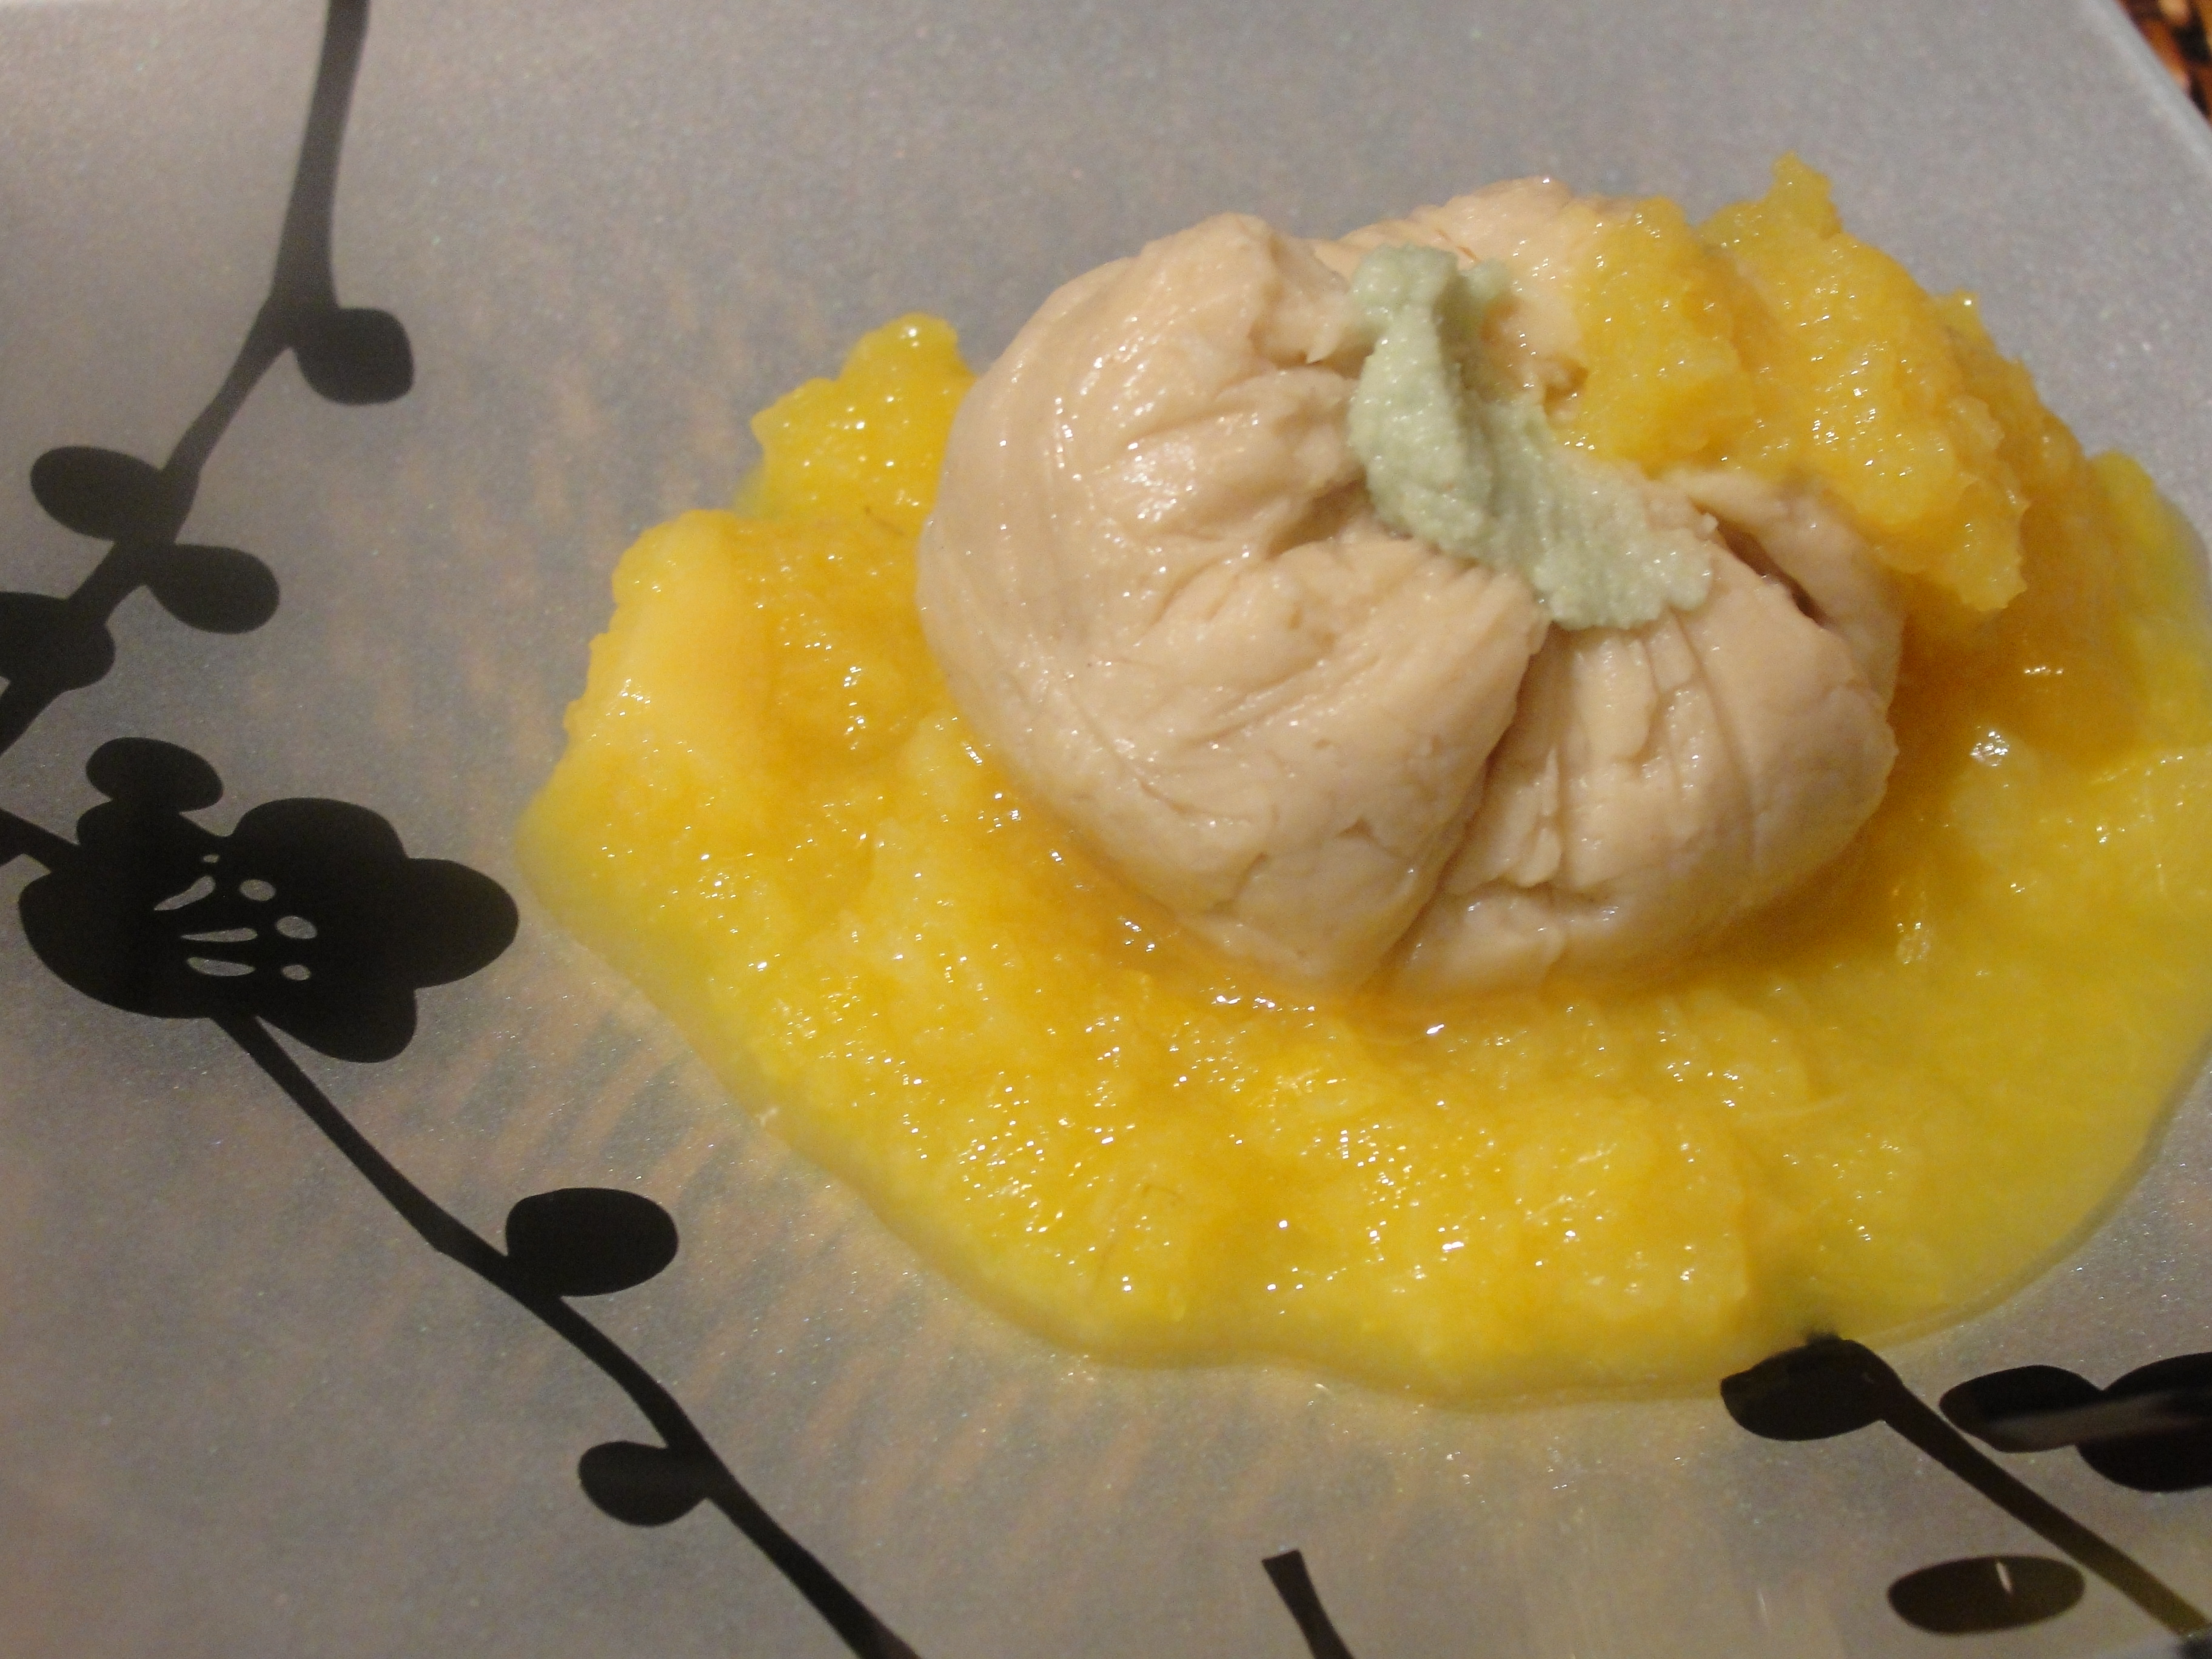
7. And voila, you have perfect little sesame tofu for the taking. Top with some wasabi and an orange, beet puree for extra flavor and color.
DISH FOUR: SPINACH DRESSED WITH GROUND SESAME PASTE
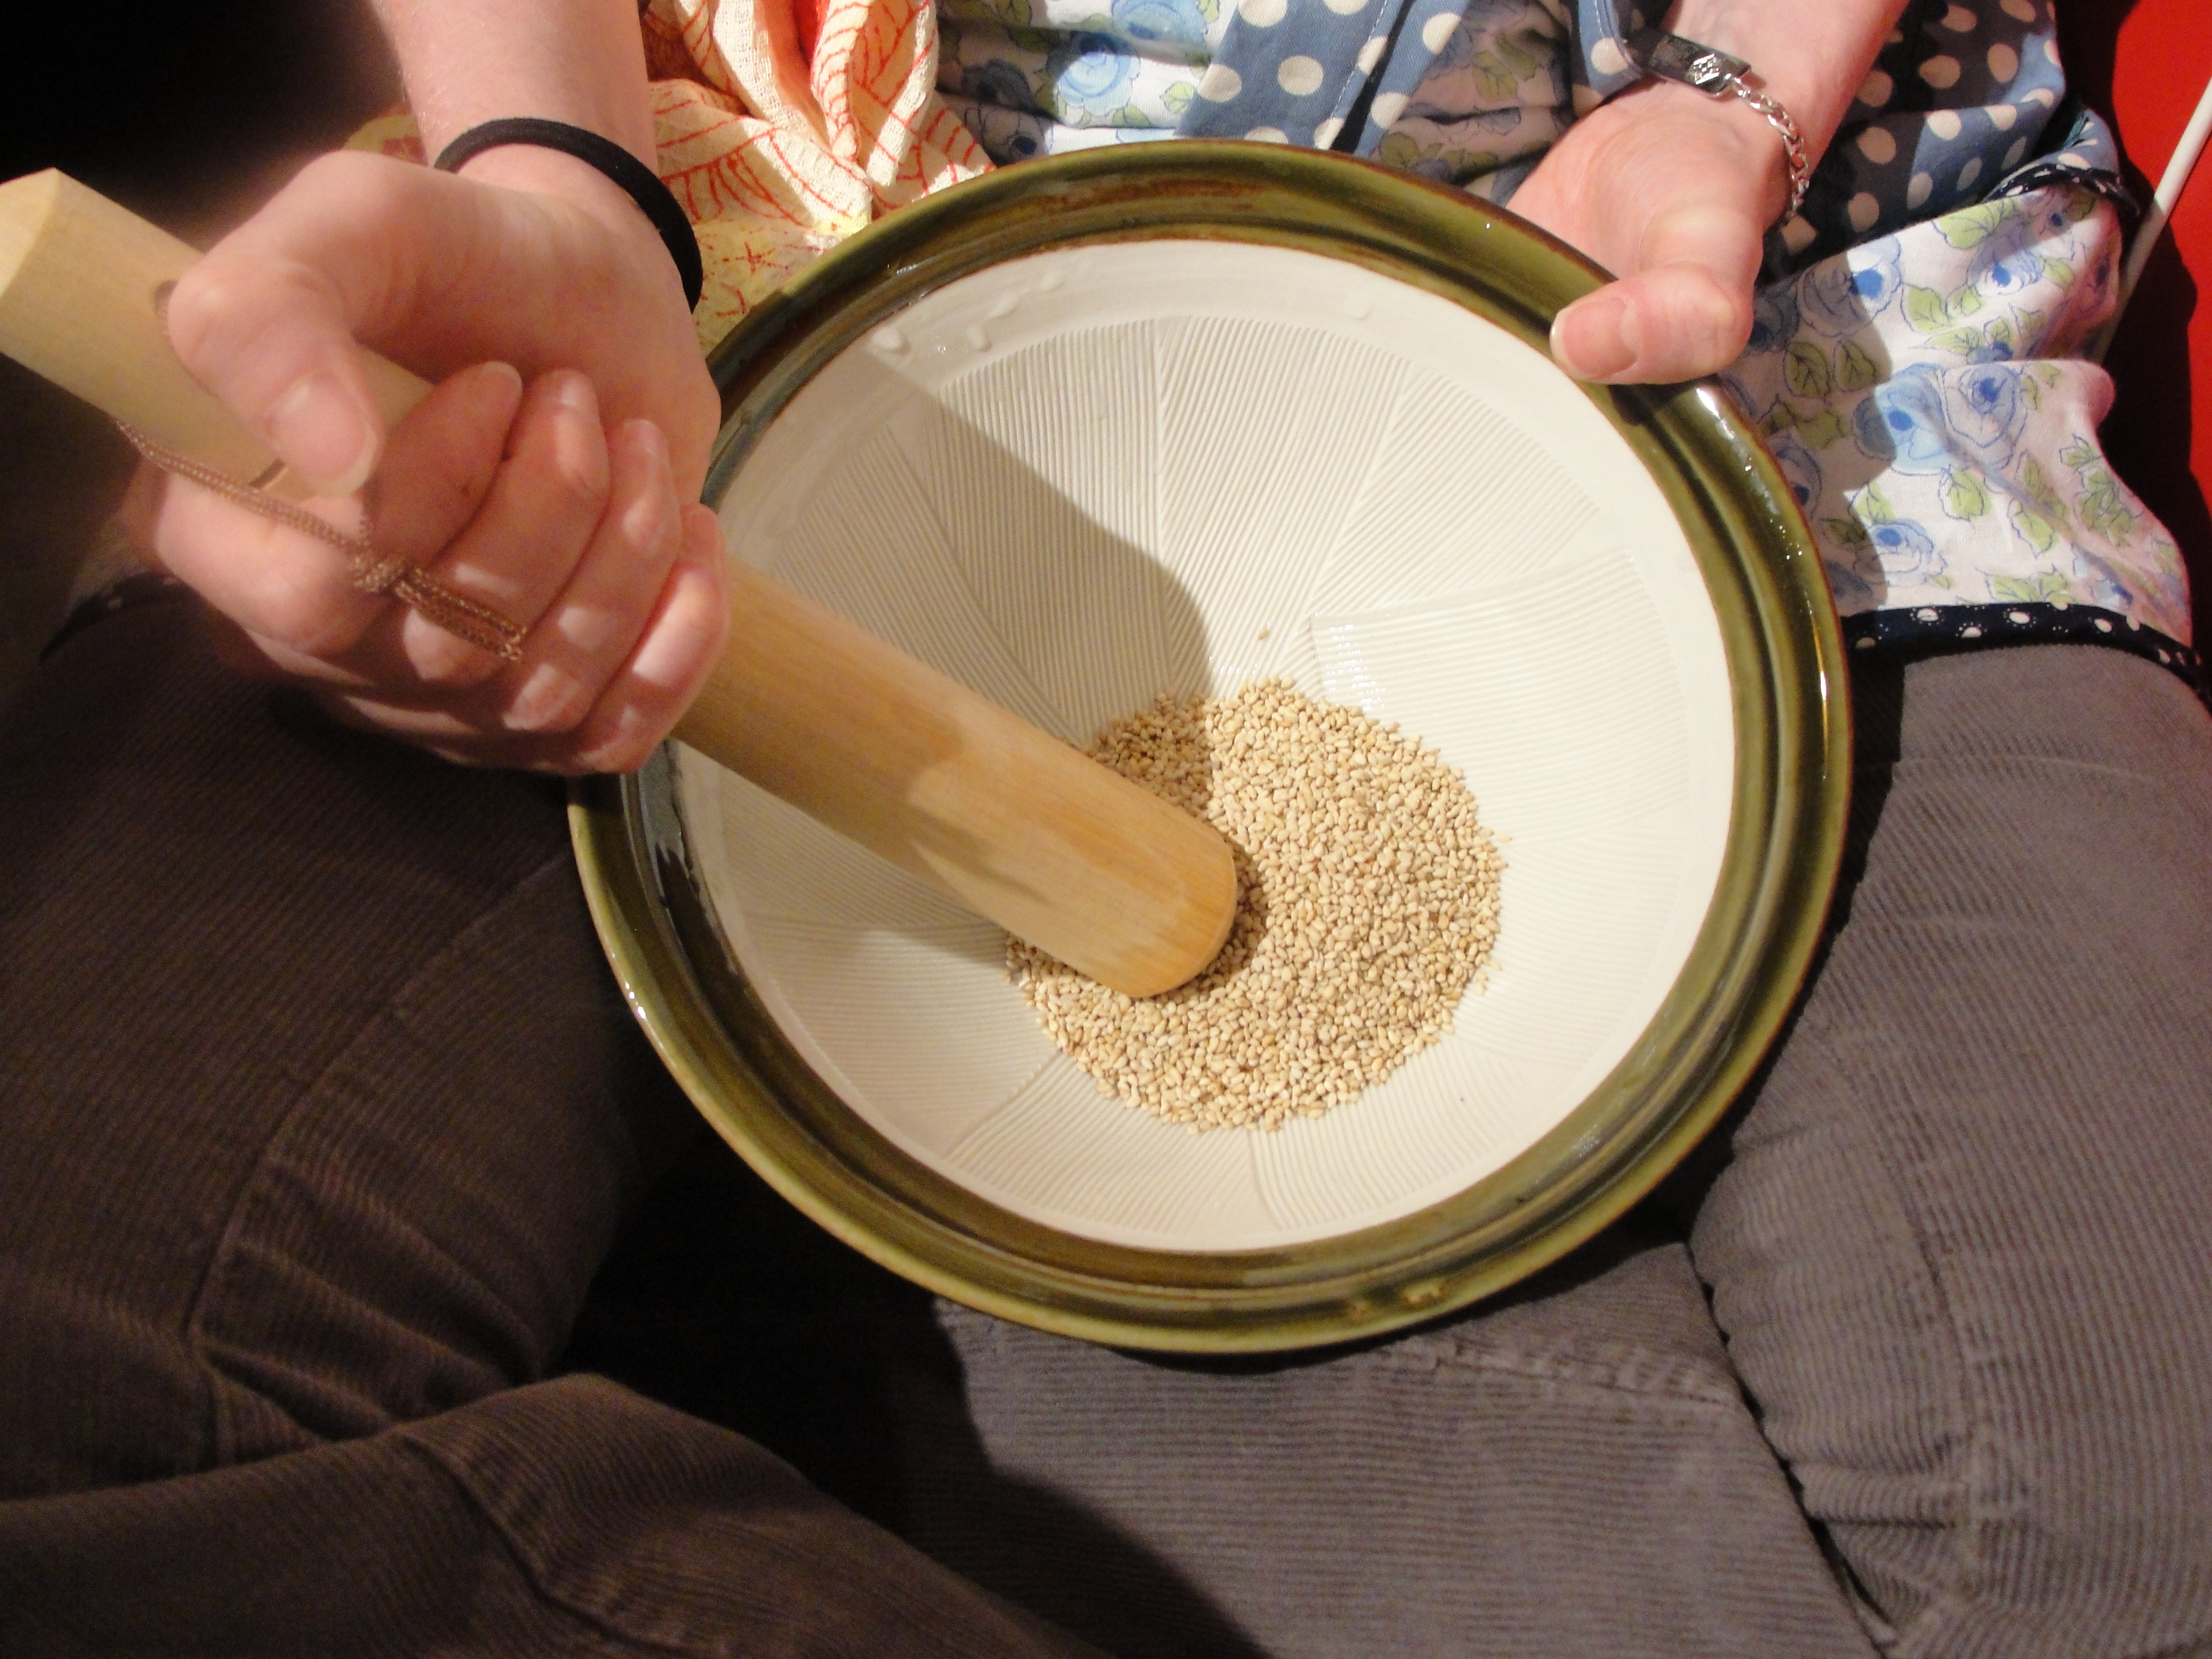
After taking the easy road with the sesame tofu, Kaz wasn’t going to let us get off that easy for our second to last dish. The suribachi came into play and we made our own sesame paste by hand for this warm salad. Who needs salt when you have blood, sweat, and tears.
Ingredients:
- 1-2 bunches of fresh spinach (0 mg of sodium)
- 2 cups of sesame seeds (0 mg of sodium)
- A handful of dried persimmon and dates (0 mg of sodium)
- 2 tablespoons of mirin (0 mg of sodium)
- 1 tablespoon of yuzu (0 mg of sodium)
- Water for blanching and a bowl of ice cold water to cool the greens
Directions:
1. Bring water to boil in a pot over high heat. Quickly blanch your spinach, dunking it in the water for about a minute, and immediately transfer it to the ice cold water bath.
2. In the suribachi, begin to grind the sesame seeds, moving the pestle in one direction. This is done most easily by placing the bowl in your lap. Then, put one hand on top of the pestle, keeping it in place, and move your other hand in a circular pattern. These techniques will give you the greatest amount of stability and sesame crushing strength.
3. Once a past has begun to form, add the persimmon and dates and grind those as well. The dried fruit is used for a richer sweetness and as a substitute for sugar.
4. Add the mirin to give the paste a smoother, more liquid-like texture.
5. Take the spinach out of the cold water and drain the excess liquid by squeezing the spinach.
6. Cut the spinach into 2 inch strips. Mix with sesame paste dressing and let sit 15 to 30 minutes before serving.
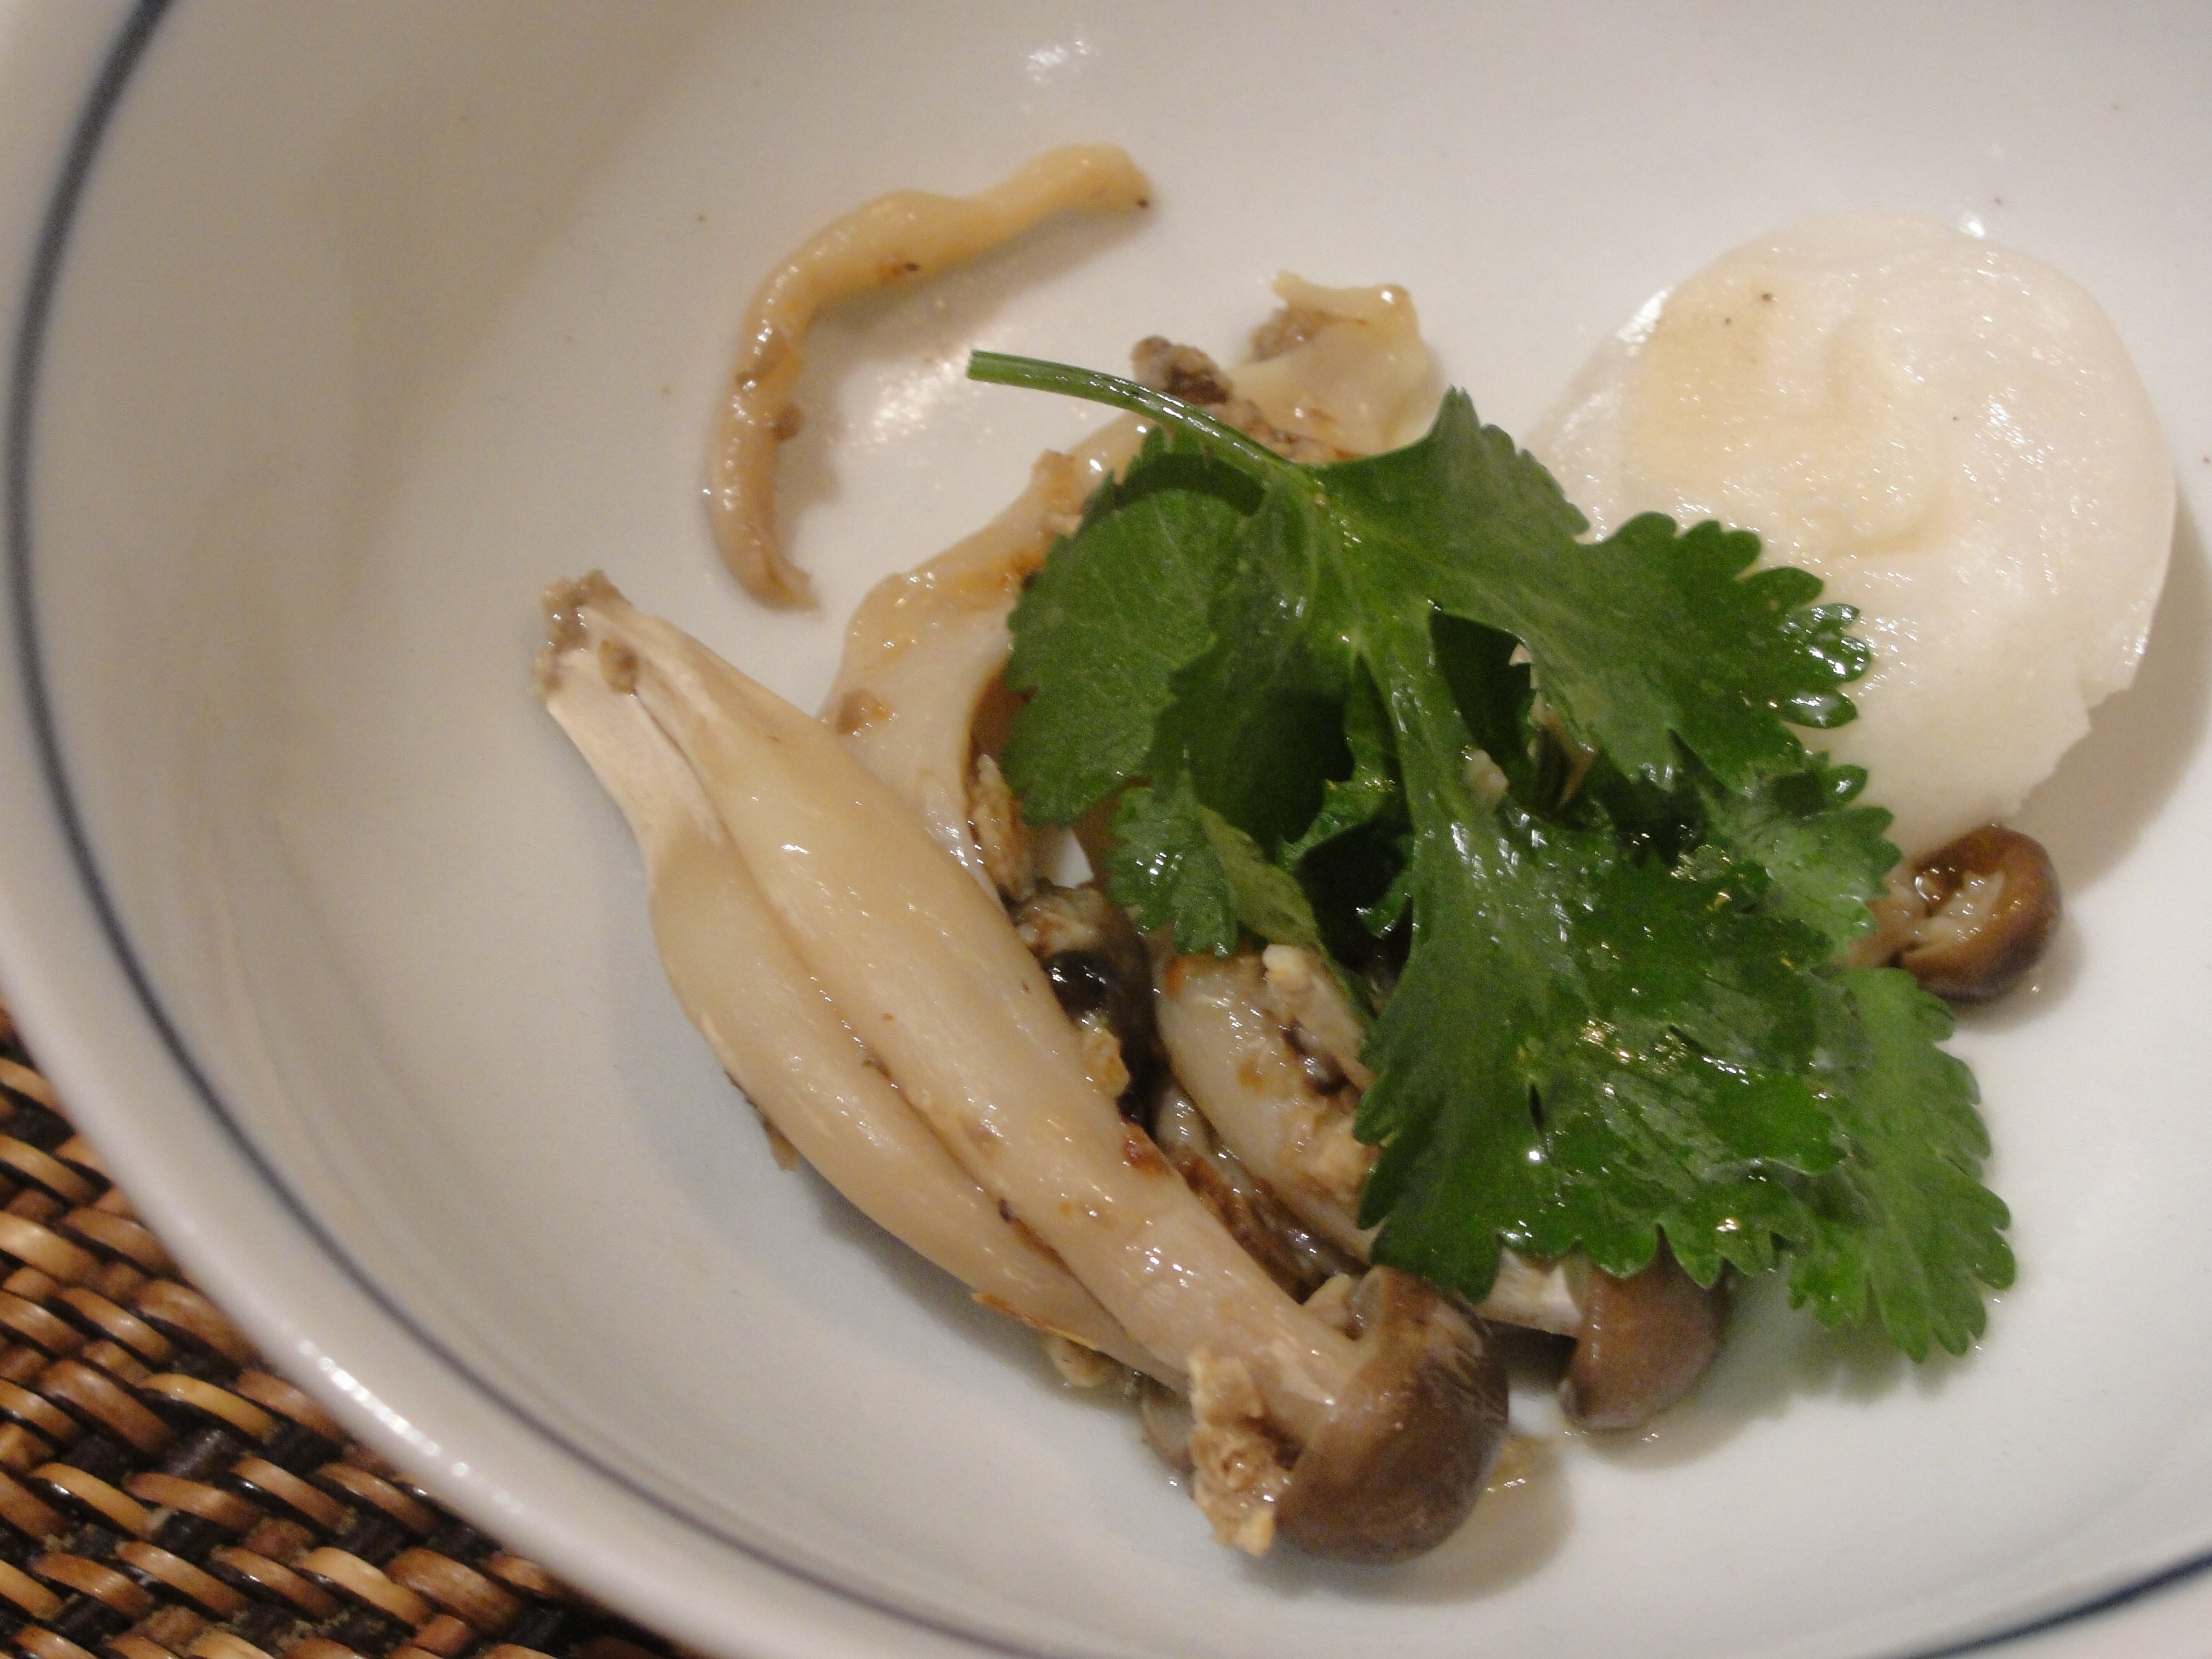
DISH 5: CLEAR BROTH SOUP AND SHIMEJI MUSHROOM
Ingredients:
- Bunch of shimeji mushroom (0 mg of sodium)
- 1/2 tablespoon of mirin (0 mg of sodium)
- 1/2 tablespoon of sake (0 mg of sodium)
- 2 cups daikon dashi (0 mg of sodium)
- 2 cups shitake dashi (0 mg of sodium)
- 2 cups konbu dashi (0 mg of sodium)
- 1/4 teaspoon of sesame oil (0 mg of sodium)
- Cilantro and bonito flakes (check back of package – 0 mg of sodium)
Directions:
1. In a small saute pan, heat the sesame oil over medium-high flame.
2. Saute the shimeji mushrooms for 2-3 minutes and then add the mirin and sake. Cover to steam the mushrooms until ready to serve.
3. Combine the konbu, daikon, and shitake dashi in a pot over medium-high heat.
4. When dashi is warm, place shimeji in soup bowl and ladle the broth on top. Garnish with cilantro and bonito flakes.
Now for the final product – all five dishes displayed in full and all five of us ready to (slowly) enjoy our bounty. If Japanese food can look and taste this good without sodium, what can’t we make?









Love the watermelon radish up top!! thanks for the elaborate cooking lesson and this awesome blog!
Wow!!! Two posts for the cooking class and what a great posts they are! I am really impressed with how accurate you described each steps, ingredients and what I said during the class.
I am also glad that you had a wonderful time at the class and I really do thank you for giving me a wonderful “challenge” for exploring new low/sodium free Japanese cooking. It opened up a new door for me and hope it did to you, too!
This looks amazing. You’ve inspired me to have my own cooking party now.
There’s such a thing as “gluten balls?” For real?